
VPS云服务器部署NPS内网穿透服务端
说明:
1、本次部署依旧采用 Docker 方式,只不过选用了具备独有 IPv4 公网地址的 VPS 云服务器,若手头没有 VPS 云服务器,本篇文章也许没有实操参考意义
2、VPS 云服务器与内网服务器,个人觉得本质区别在于:VPS 云服务器具备独有 IPv4 或者独有 IPv6 或者双栈 IP(IPv4+IPv6),而内网服务器具备 IPv4,但是不是独有,是成千上万人通过 NAT 共用一个 IPv4
3、内网穿透需求背景是:因公网 IPv4 资源枯竭耗尽,运营商均采用内部大内网 NAT 拨号方式,提供网络带宽服务,这就导致处于家庭内部的网络设备,无法能够被外部具备公网 IPv4 的设备访问。家庭内部的网络设备要想被外部具备公网 IPv4 的设备访问,最直接的方式就是利用内网穿透,将家庭内部的网络设备暴露出去,以此对外提供服务。先前一直使用 FRP,虽然是一个很好很好很好的项目,但是其不具备原生前端 UI 界面,完全是通过配置文件及命令行进行部署,个人自己认为不是很直观,所以寻求 Github 优秀平替项目 NPS,取而代之,现进行部署记载。
FRP Github:https://github.com/fatedier/frp
FRP 官网:https://gofrp.org/zh-cn
NPS Github(原版,已存档):https://github.com/ehang-io/nps
NPS Github(基于原版,二次开发):https://github.com/yisier/nps
NPS Dockerhub(服务端):https://hub.docker.com/r/yisier1/nps
NPC Dockerhub(客户端):https://hub.docker.com/r/yisier1/npc
NPS Linux Release(x86_64【v0.26.28】):https://github.com/yisier/nps/releases/download/v0.26.28/linux_amd64_server.tar.gz
NPC Linux Release(x86_64【v0.26.28】):https://github.com/yisier/nps/releases/download/v0.26.28/linux_amd64_client.tar.gz
NPS Linux Release(ARM【v0.26.28】):
https://github.com/yisier/nps/releases/download/v0.26.28/linux_arm64_server.tar.gz
NPC Linux Release(ARM【v0.26.28】):https://github.com/yisier/nps/releases/download/v0.26.28/linux_arm64_client.tar.gz
NPS Windows Release(x86_64【v0.26.28】):
https://github.com/yisier/nps/releases/download/v0.26.28/windows_amd64_server.tar.gz
NPC Windows Release(x86_64【v0.26.28】):
https://github.com/yisier/nps/releases/download/v0.26.28/windows_amd64_client.tar.gz
注:截止博客发布,二次开发版的 NPS 最新版本是【v0.26.28】,各文件可从上述地址获取,也可从本服务器下载
1.dcoker compose方式启动NPS容器的.yaml文件编写
二次开发版的 NPS 在 Dockerhub 中,基于的是 docker 方式启动,如下
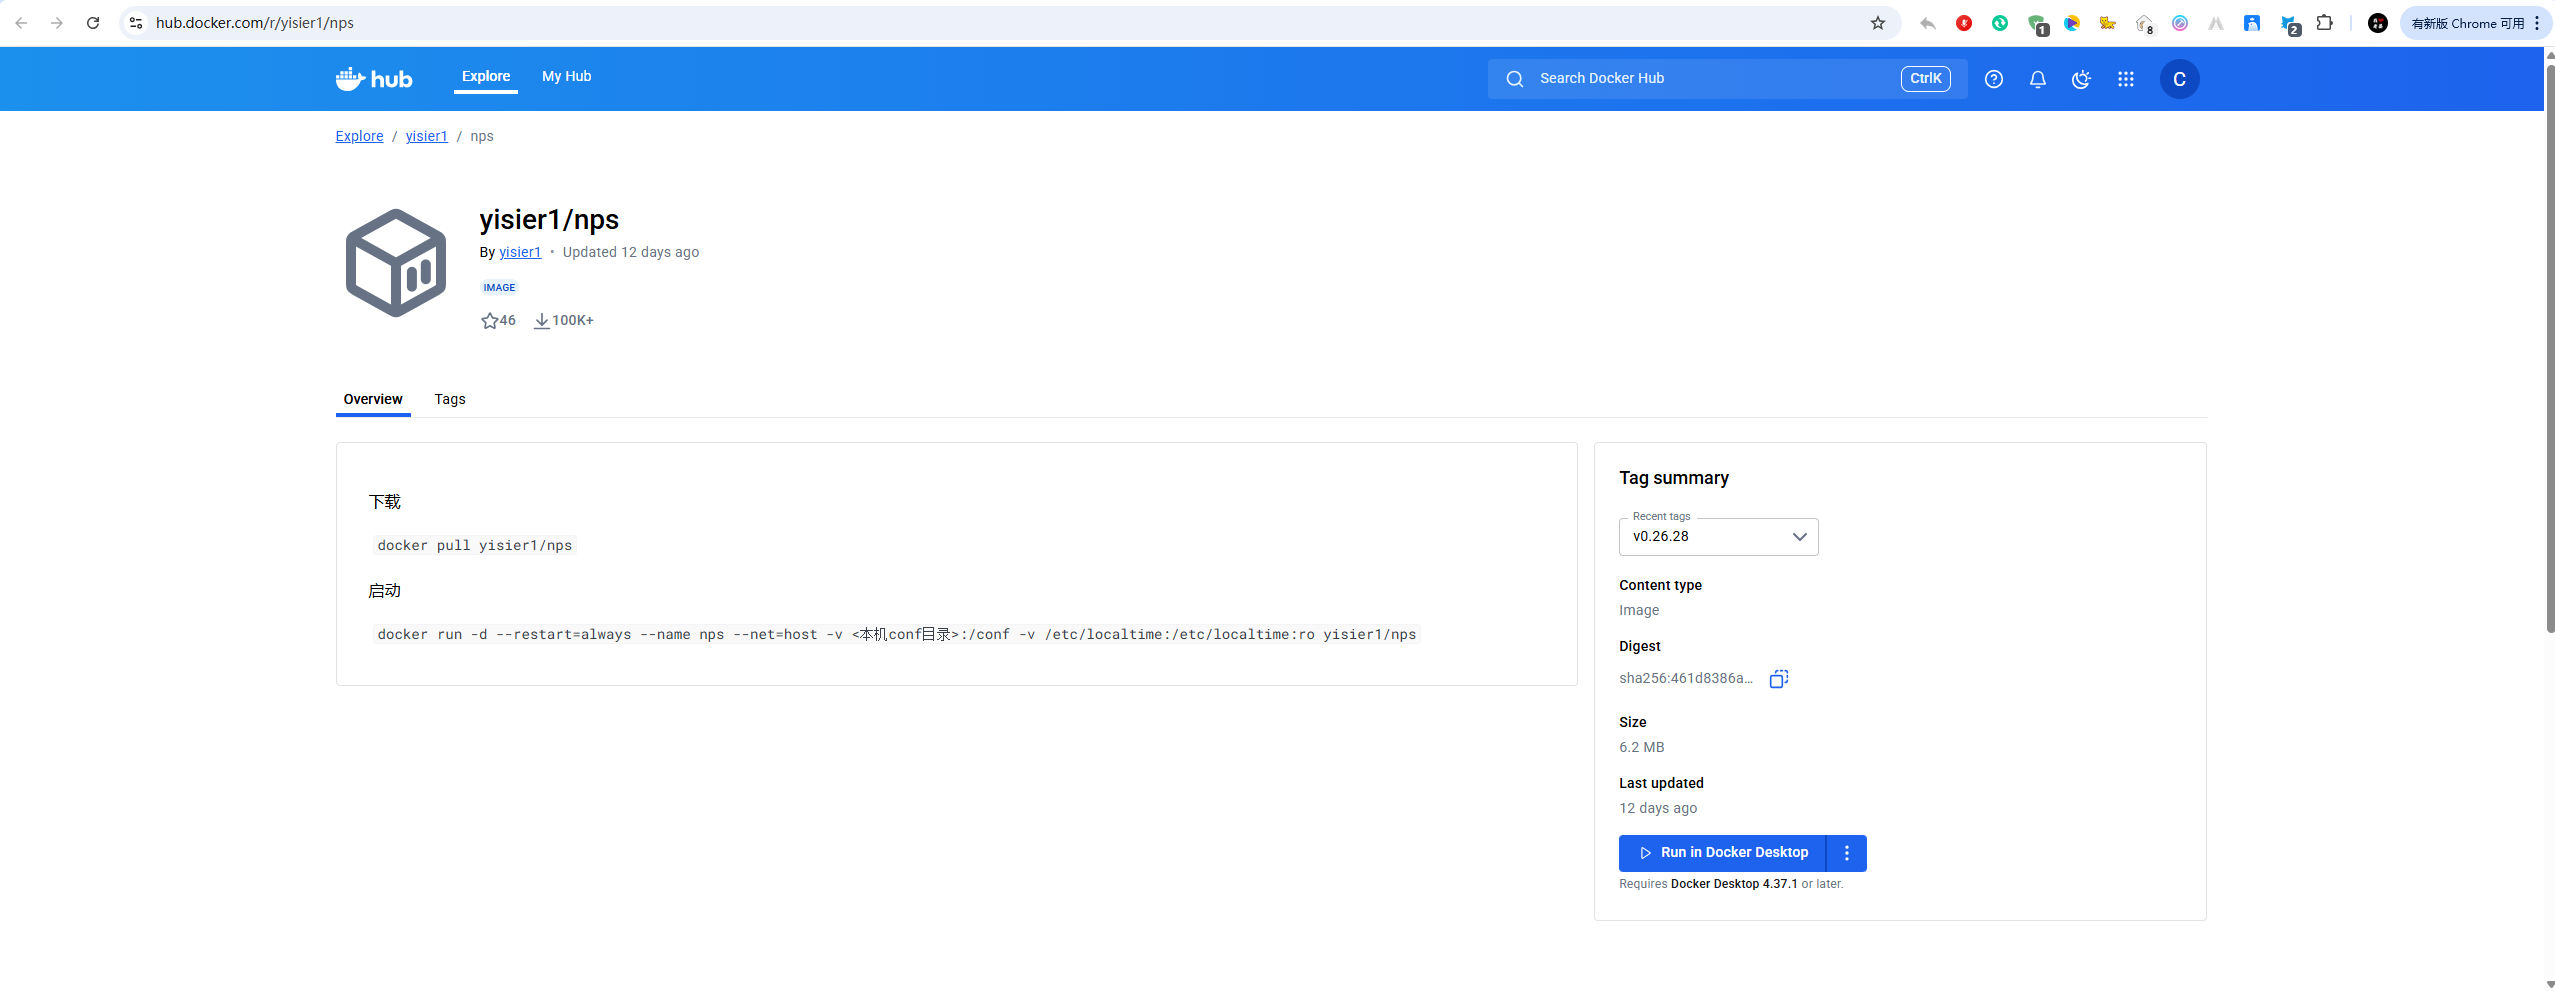
实际个人编写.yaml 文件如下,如需使用此配置,可下载
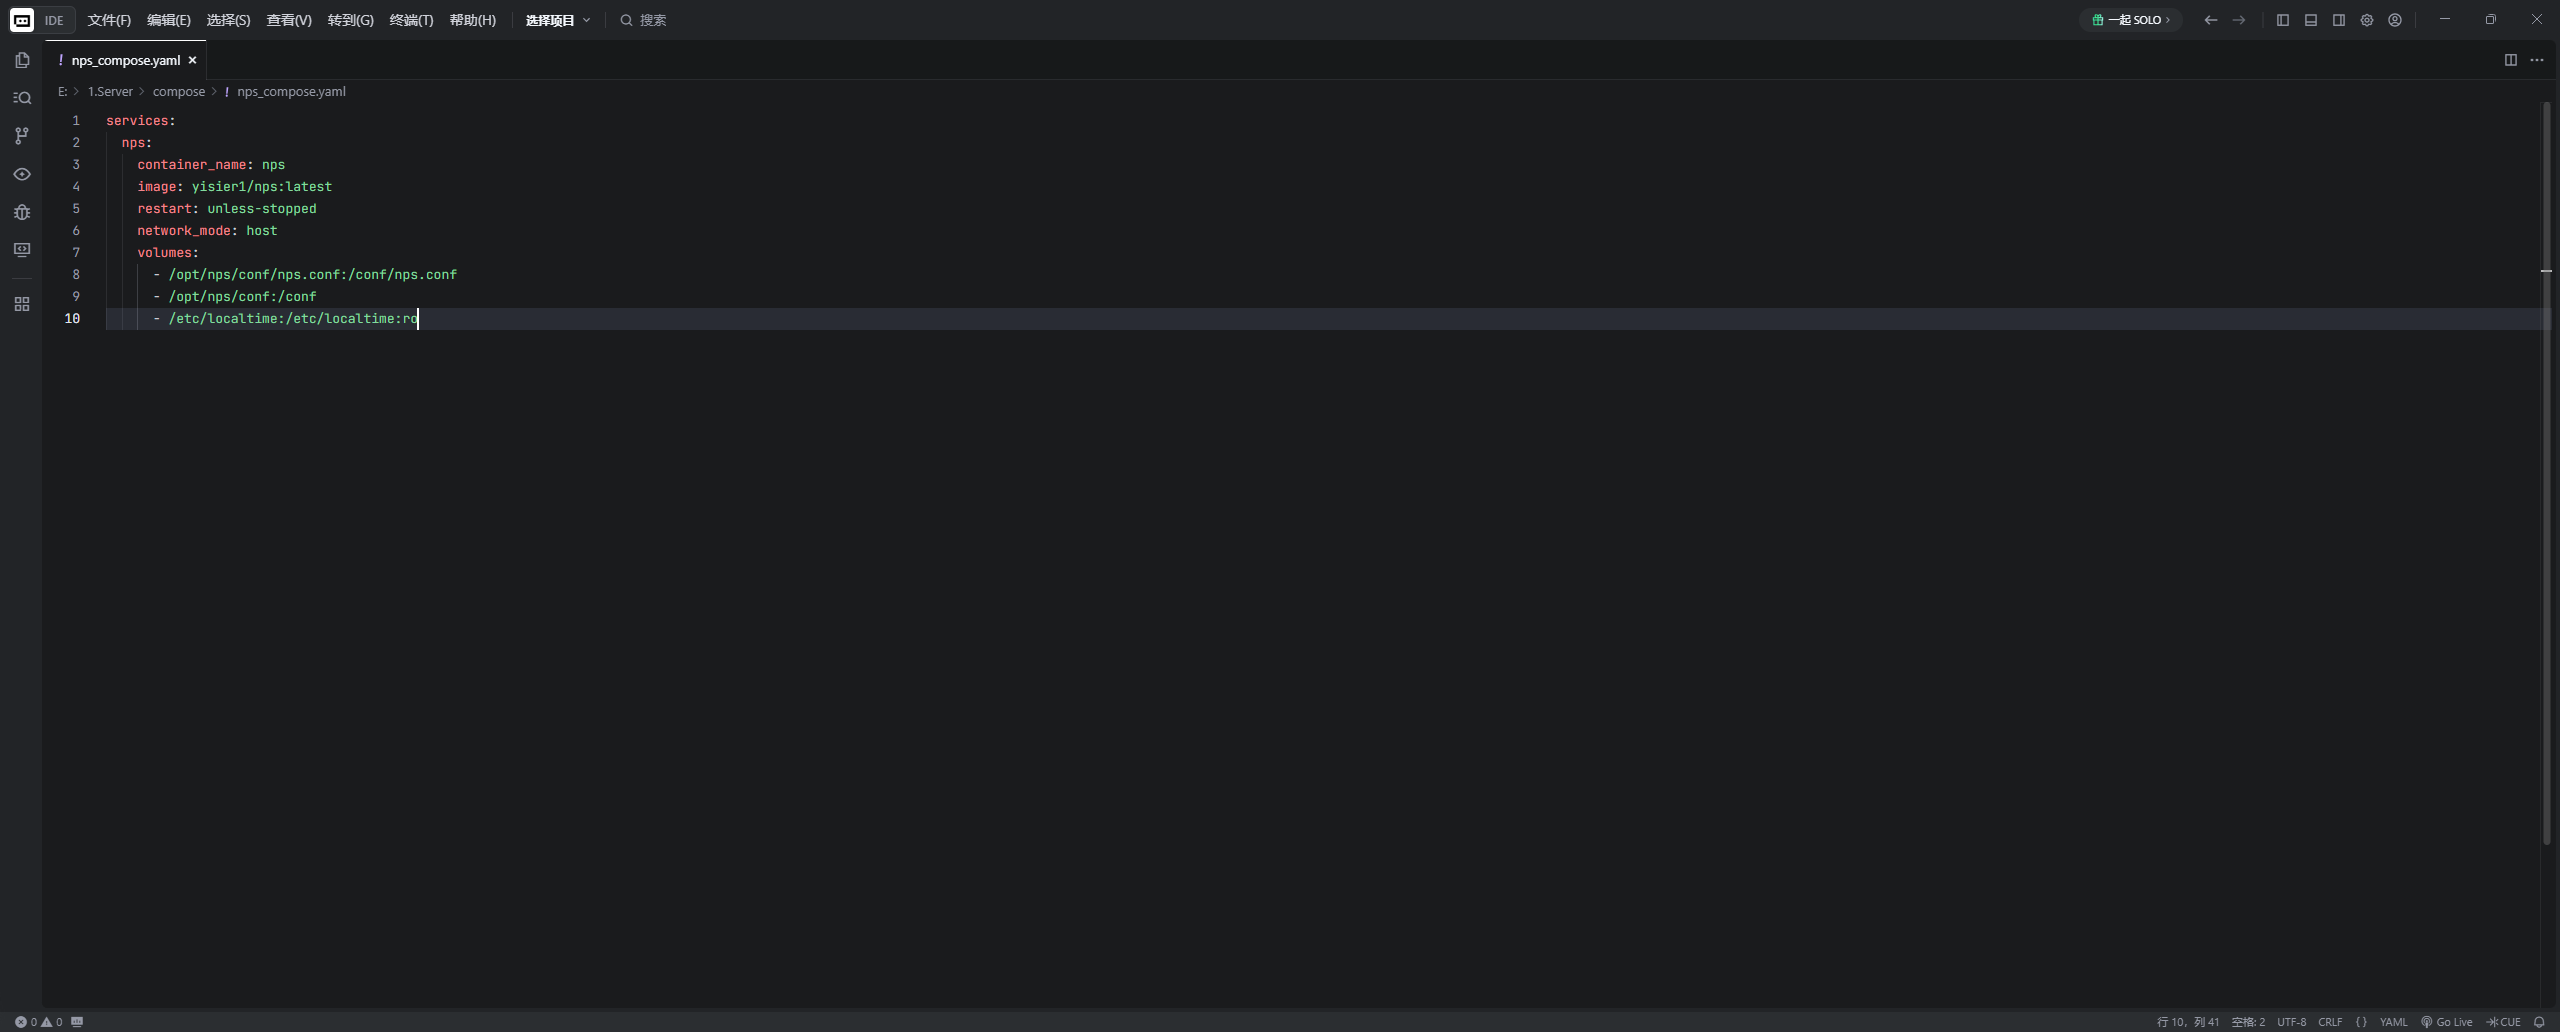
services:
  nps:
    container_name: nps
    image: yisier1/nps:latest
    restart: unless-stopped
    network_mode: host
    volumes:
      - /opt/nps/conf/nps.conf:/conf/nps.conf
      - /opt/nps/conf:/conf
      - /etc/localtime:/etc/localtime:ro
此方式编写的.yaml 文件,在 NPS 容器启动后,所有的具体配置参数是提前写好在 nps.conf这份文件中的,且客户端后续连接所需信息全部在服务端完成,客户端无需额外配置任何数据信息
2.解压编辑服务端压缩文件并上传
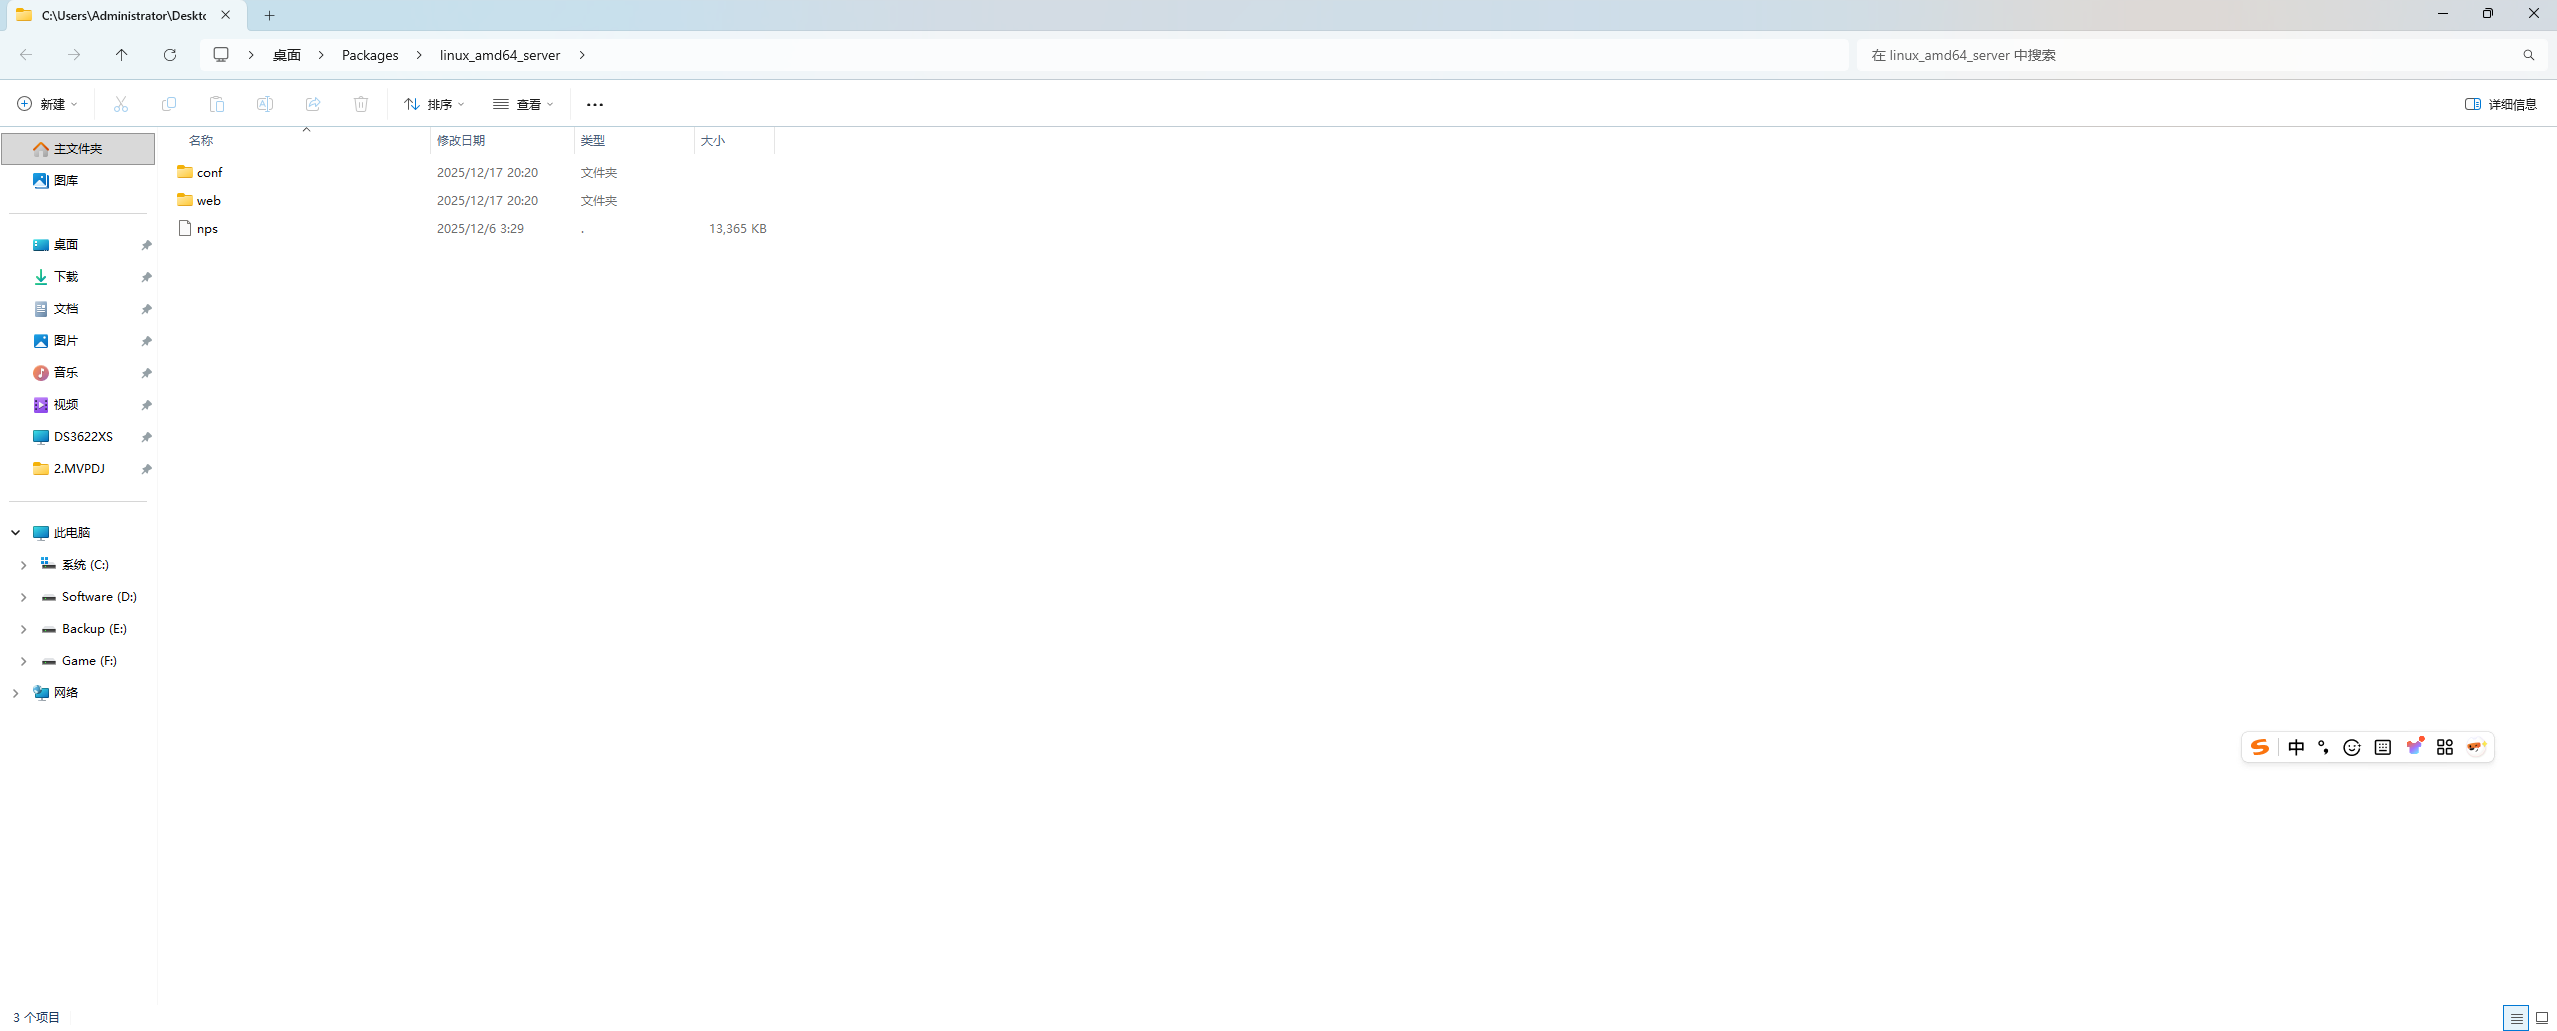
演示 VPS 云服务器的架构是:x86_64,故服务端使用的文件名是:linux_amd64_server.tar.gz,本地解压后,得到的全量包数据如下
开始对 conf 文件夹下的 nps.conf这份配置文件进行编辑(一定要提前对原始样板文件备份,备份,备份!!!)
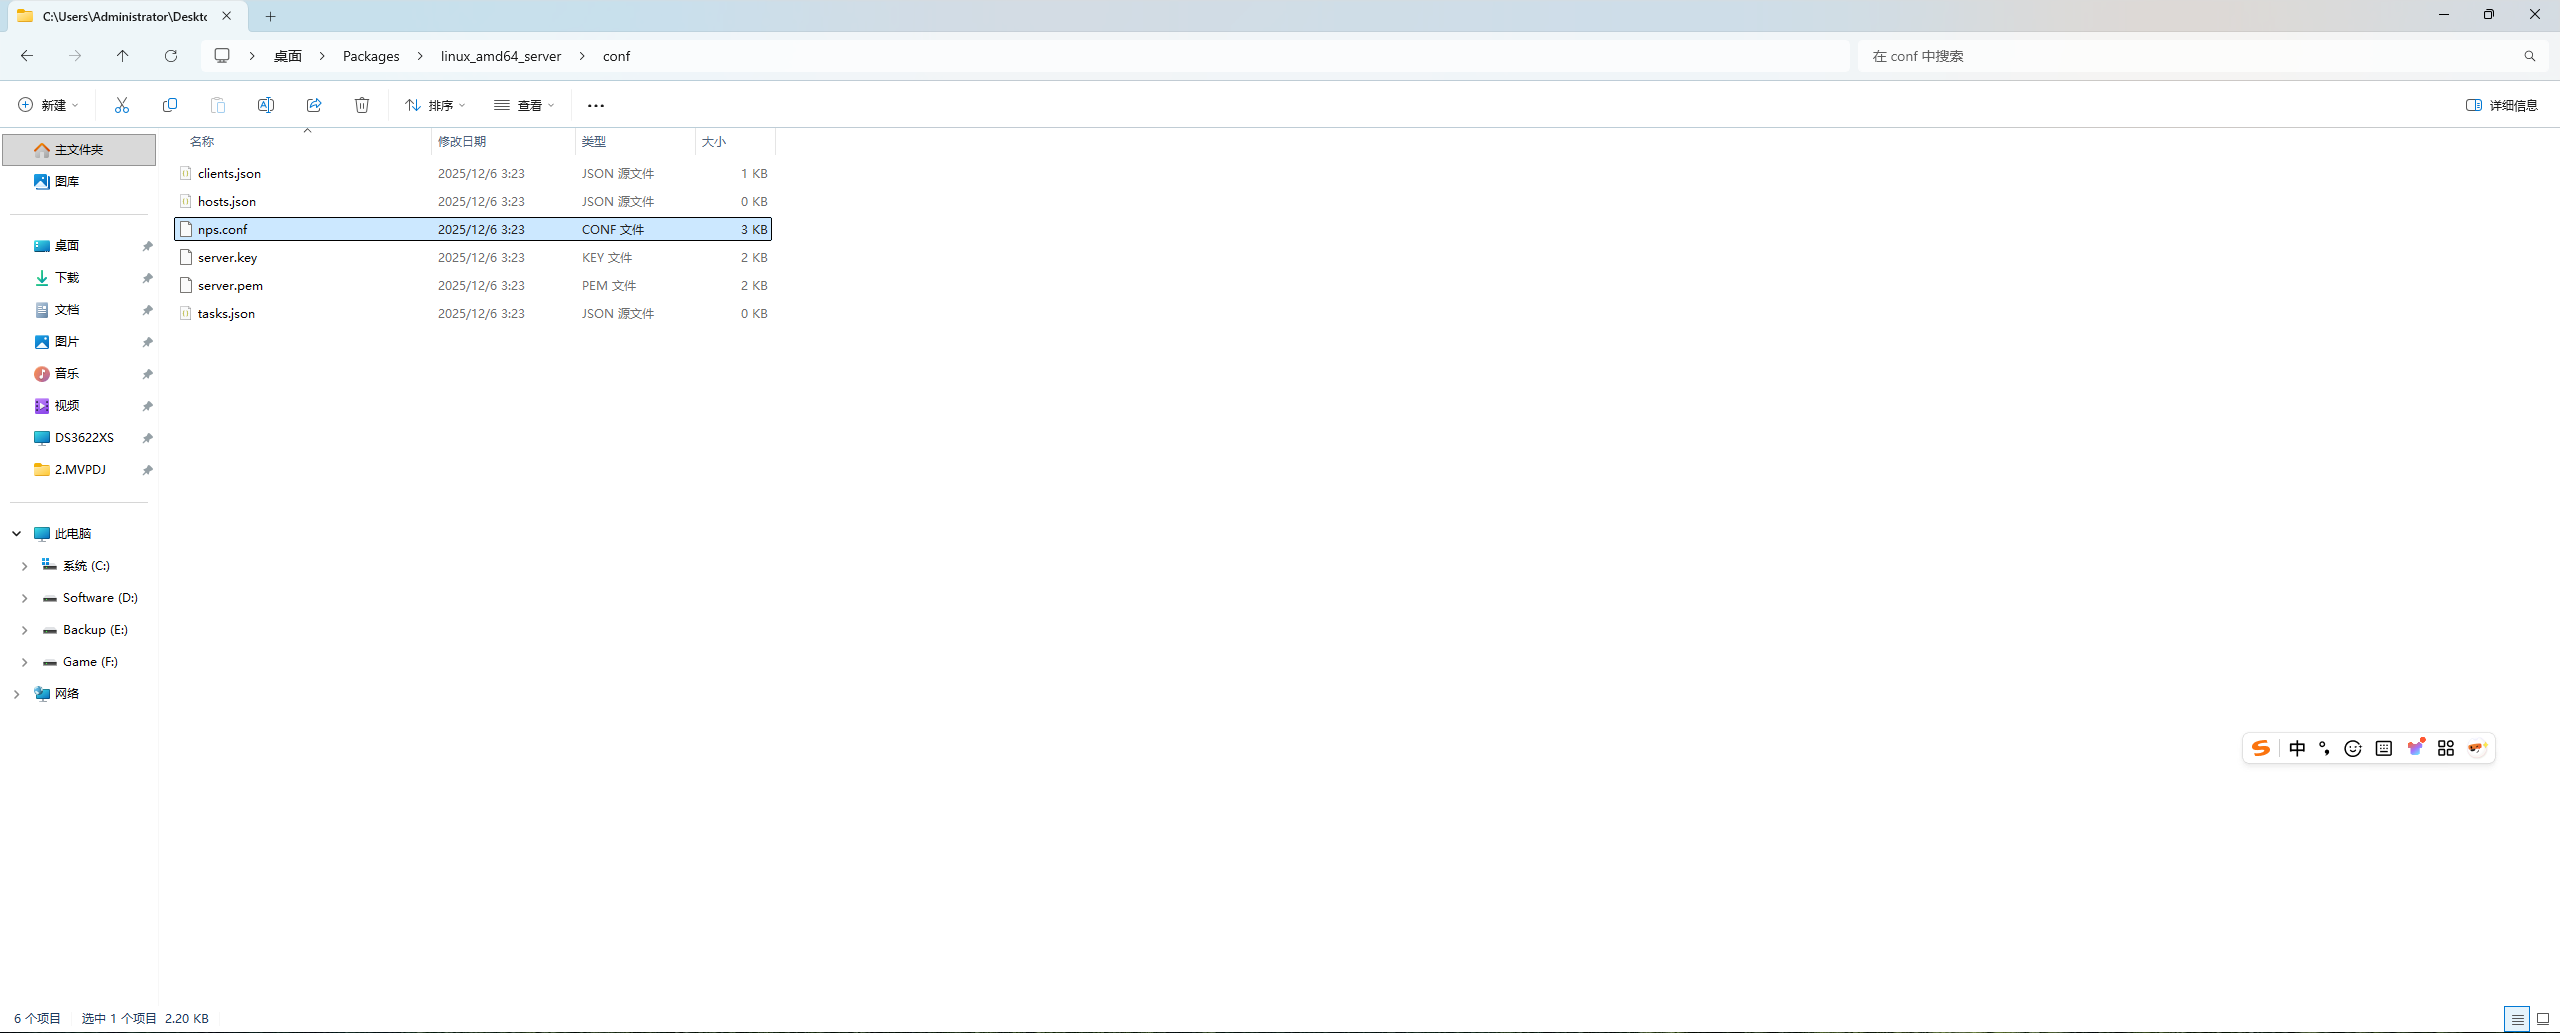
原始样板文件具体如下
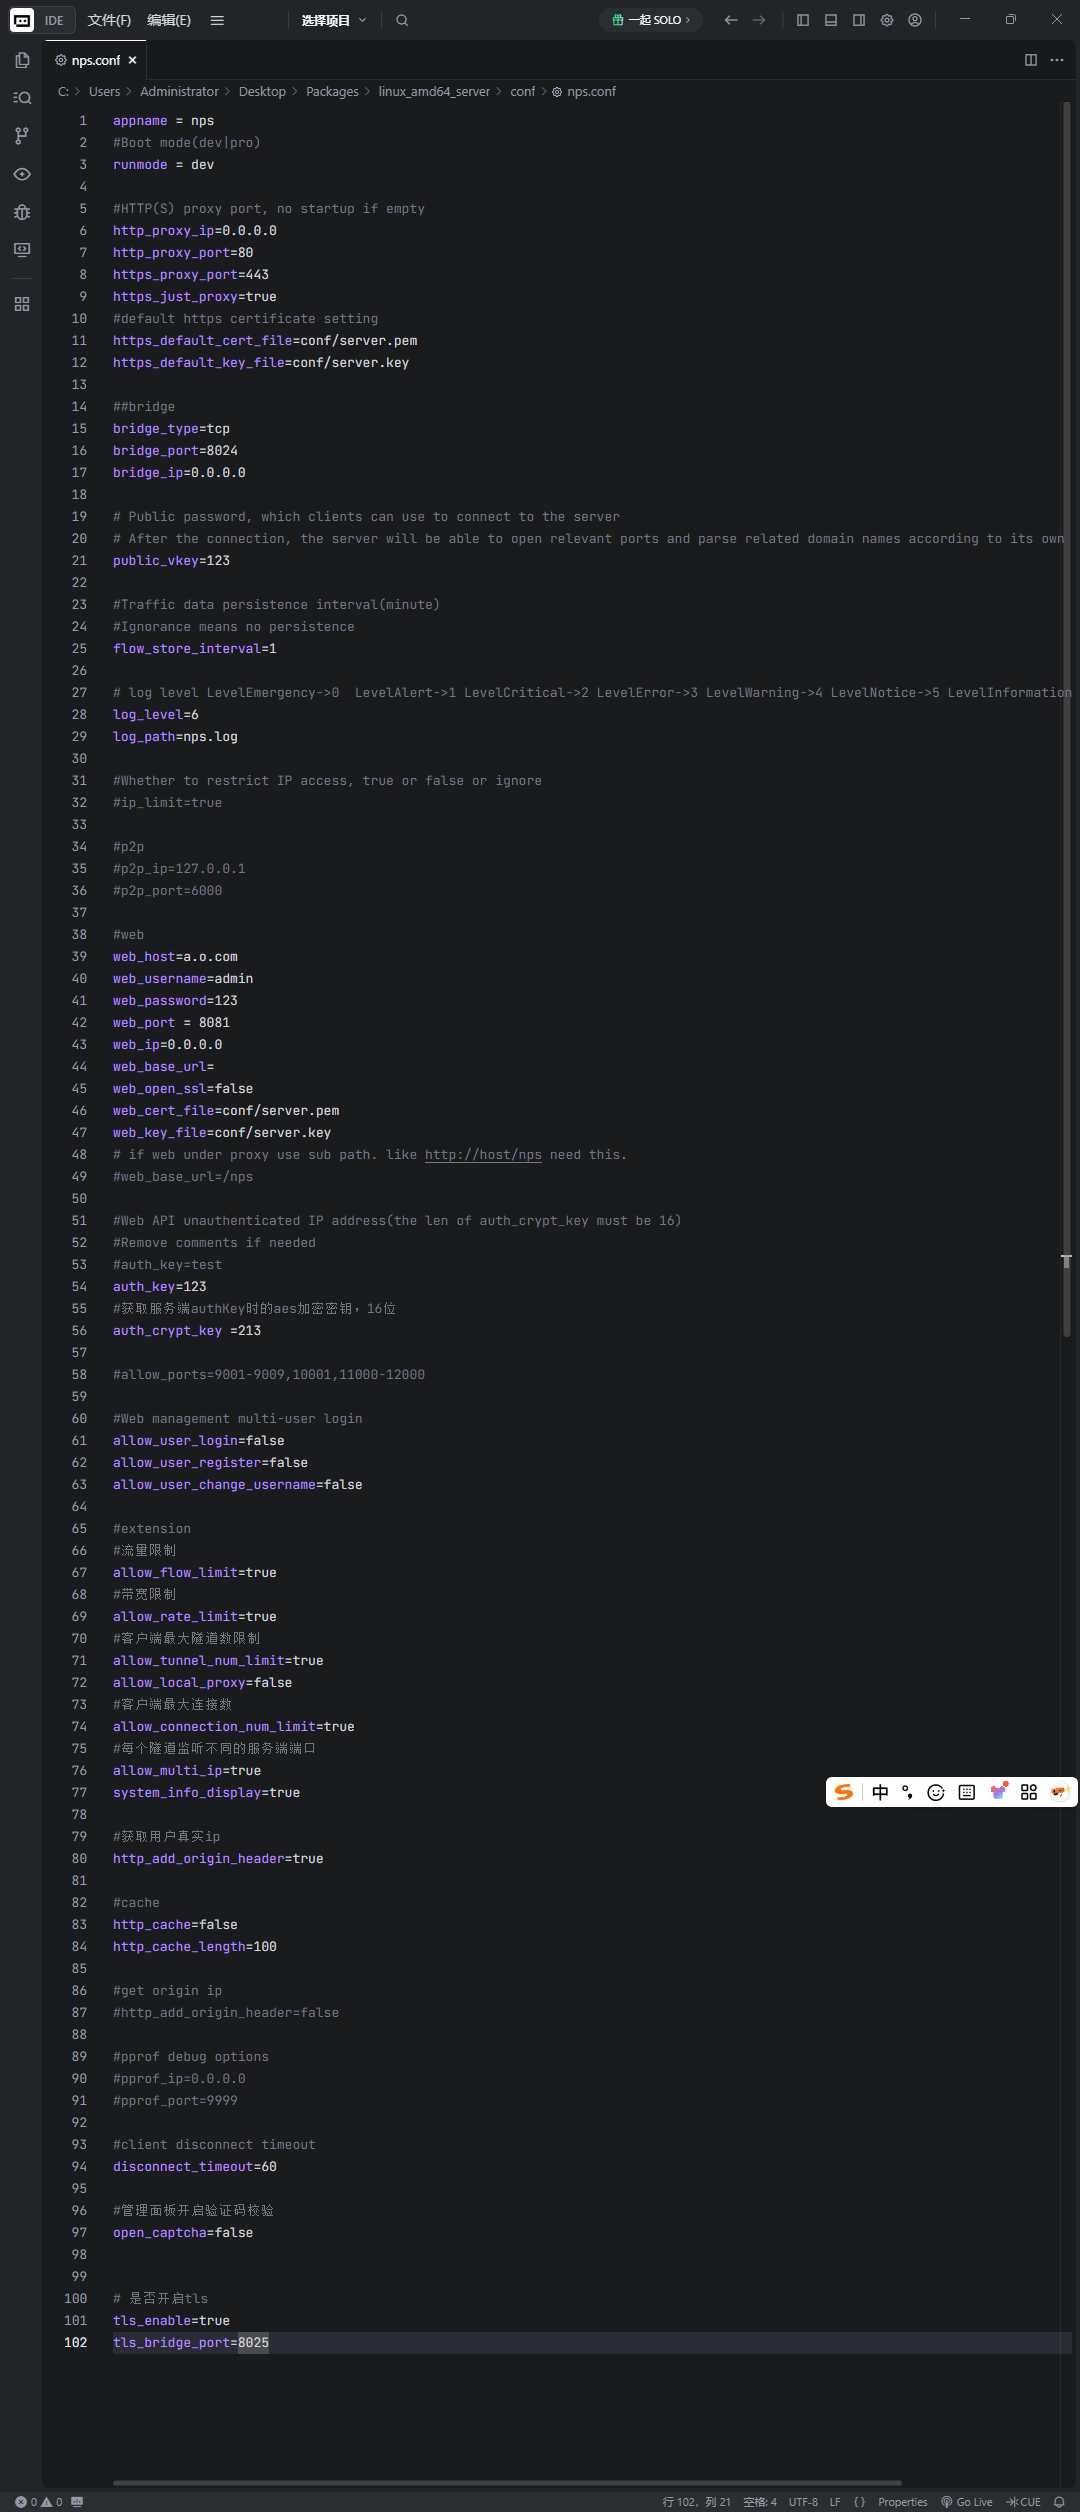
appname = nps
#Boot mode(dev|pro)
runmode = dev

#HTTP(S) proxy port, no startup if empty
http_proxy_ip=0.0.0.0
http_proxy_port=80
https_proxy_port=443
https_just_proxy=true
#default https certificate setting
https_default_cert_file=conf/server.pem
https_default_key_file=conf/server.key

##bridge
bridge_type=tcp
bridge_port=8024
bridge_ip=0.0.0.0

# Public password, which clients can use to connect to the server
# After the connection, the server will be able to open relevant ports and parse related domain names according to its own configuration file.
public_vkey=123

#Traffic data persistence interval(minute)
#Ignorance means no persistence
flow_store_interval=1

# log level LevelEmergency->0  LevelAlert->1 LevelCritical->2 LevelError->3 LevelWarning->4 LevelNotice->5 LevelInformational->6 LevelDebug->7
log_level=6
log_path=nps.log

#Whether to restrict IP access, true or false or ignore
#ip_limit=true

#p2p
#p2p_ip=127.0.0.1
#p2p_port=6000

#web
web_host=a.o.com
web_username=admin
web_password=123
web_port = 8081
web_ip=0.0.0.0
web_base_url=
web_open_ssl=false
web_cert_file=conf/server.pem
web_key_file=conf/server.key
# if web under proxy use sub path. like http://host/nps need this.
#web_base_url=/nps

#Web API unauthenticated IP address(the len of auth_crypt_key must be 16)
#Remove comments if needed
#auth_key=test
auth_key=123
#获取服务端authKey时的aes加密密钥,16位
auth_crypt_key =213

#allow_ports=9001-9009,10001,11000-12000

#Web management multi-user login
allow_user_login=false
allow_user_register=false
allow_user_change_username=false

#extension
#流量限制
allow_flow_limit=true
#带宽限制
allow_rate_limit=true
#客户端最大隧道数限制
allow_tunnel_num_limit=true
allow_local_proxy=false
#客户端最大连接数
allow_connection_num_limit=true
#每个隧道监听不同的服务端端口
allow_multi_ip=true
system_info_display=true

#获取用户真实ip
http_add_origin_header=true

#cache
http_cache=false
http_cache_length=100

#get origin ip
#http_add_origin_header=false

#pprof debug options
#pprof_ip=0.0.0.0
#pprof_port=9999

#client disconnect timeout
disconnect_timeout=60

#管理面板开启验证码校验
open_captcha=false


# 是否开启tls
tls_enable=true
tls_bridge_port=8025
实际个人编写 nps.conf 文件如下,如需使用此配置,可下载
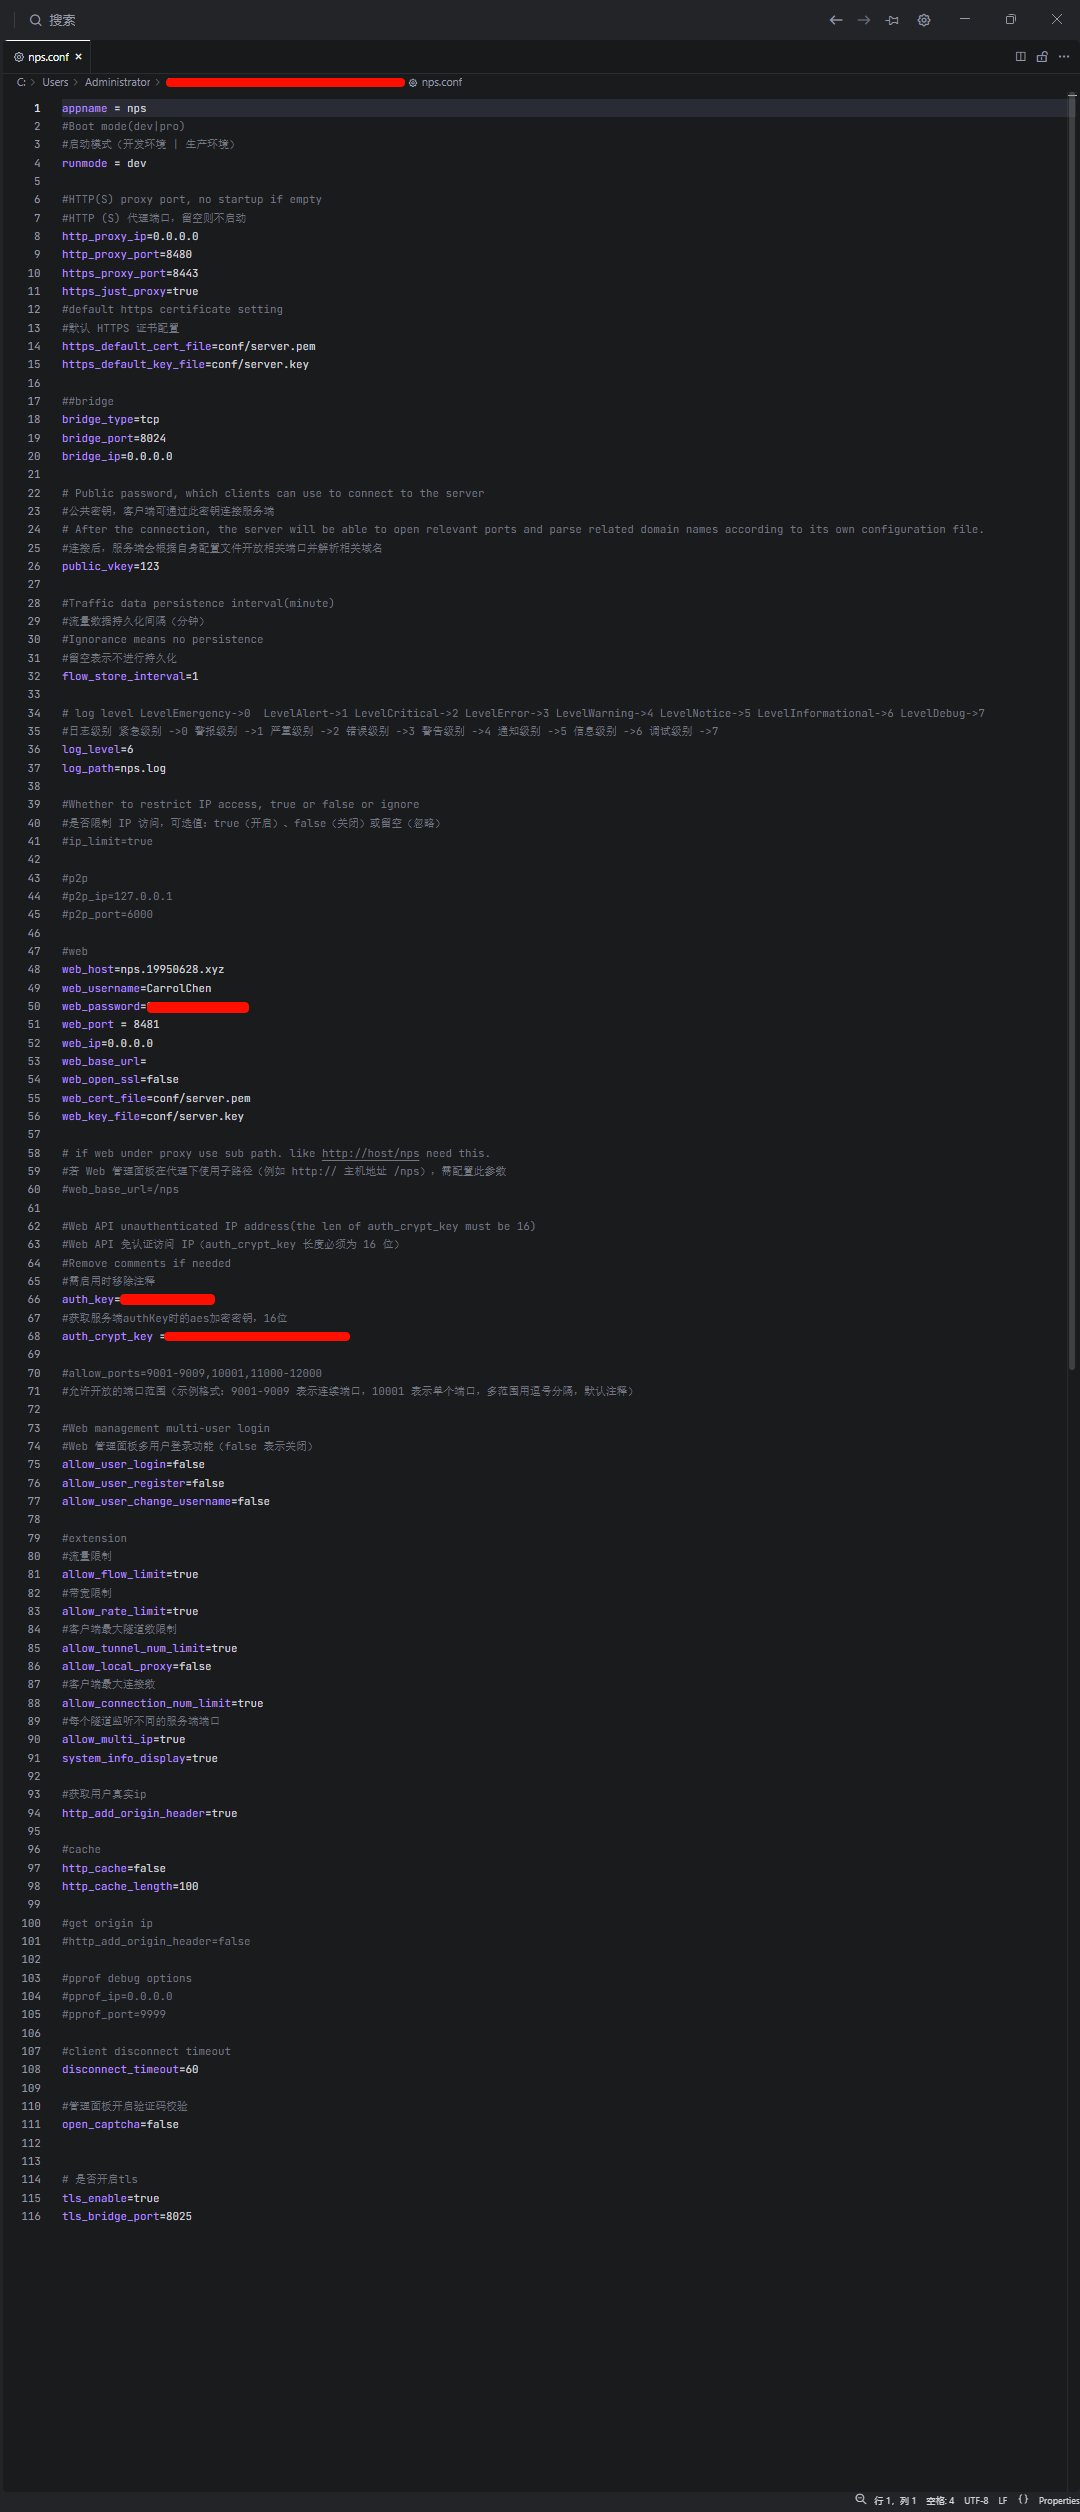
appname = nps
#Boot mode(dev|pro)
#启动模式(开发环境 | 生产环境)
runmode = dev

#HTTP(S) proxy port, no startup if empty
#HTTP (S) 代理端口,留空则不启动
http_proxy_ip=0.0.0.0
http_proxy_port=8480
https_proxy_port=8443
https_just_proxy=true
#default https certificate setting
#默认 HTTPS 证书配置
https_default_cert_file=conf/server.pem
https_default_key_file=conf/server.key

##bridge
bridge_type=tcp
bridge_port=8024
bridge_ip=0.0.0.0

# Public password, which clients can use to connect to the server
#公共密钥,客户端可通过此密钥连接服务端
# After the connection, the server will be able to open relevant ports and parse related domain names according to its own configuration file.
#连接后,服务端会根据自身配置文件开放相关端口并解析相关域名
public_vkey=123

#Traffic data persistence interval(minute)
#流量数据持久化间隔(分钟)
#Ignorance means no persistence
#留空表示不进行持久化
flow_store_interval=1

# log level LevelEmergency->0  LevelAlert->1 LevelCritical->2 LevelError->3 LevelWarning->4 LevelNotice->5 LevelInformational->6 LevelDebug->7
#日志级别 紧急级别 ->0 警报级别 ->1 严重级别 ->2 错误级别 ->3 警告级别 ->4 通知级别 ->5 信息级别 ->6 调试级别 ->7
log_level=6
log_path=nps.log

#Whether to restrict IP access, true or false or ignore
#是否限制 IP 访问,可选值:true(开启)、false(关闭)或留空(忽略)
#ip_limit=true

#p2p
#p2p_ip=127.0.0.1
#p2p_port=6000

#web
web_host=nps.19950628.xyz
web_username=CarrolChen
web_password=password
web_port = 8481
web_ip=0.0.0.0
web_base_url=
web_open_ssl=false
web_cert_file=conf/server.pem
web_key_file=conf/server.key

# if web under proxy use sub path. like http://host/nps need this.
#若 Web 管理面板在代理下使用子路径(例如 http:// 主机地址 /nps),需配置此参数
#web_base_url=/nps

#Web API unauthenticated IP address(the len of auth_crypt_key must be 16)
#Web API 免认证访问 IP(auth_crypt_key 长度必须为 16 位)
#Remove comments if needed
#需启用时移除注释
auth_key=password
#获取服务端authKey时的aes加密密钥,16位
auth_crypt_key =passwordpasswordpassword

#allow_ports=9001-9009,10001,11000-12000
#允许开放的端口范围(示例格式:9001-9009 表示连续端口,10001 表示单个端口,多范围用逗号分隔,默认注释)

#Web management multi-user login
#Web 管理面板多用户登录功能(false 表示关闭)
allow_user_login=false
allow_user_register=false
allow_user_change_username=false

#extension
#流量限制
allow_flow_limit=true
#带宽限制
allow_rate_limit=true
#客户端最大隧道数限制
allow_tunnel_num_limit=true
allow_local_proxy=false
#客户端最大连接数
allow_connection_num_limit=true
#每个隧道监听不同的服务端端口
allow_multi_ip=true
system_info_display=true

#获取用户真实ip
http_add_origin_header=true

#cache
http_cache=false
http_cache_length=100

#get origin ip
#http_add_origin_header=false

#pprof debug options
#pprof_ip=0.0.0.0
#pprof_port=9999

#client disconnect timeout
disconnect_timeout=60

#管理面板开启验证码校验
open_captcha=false


# 是否开启tls
tls_enable=true
tls_bridge_port=8025
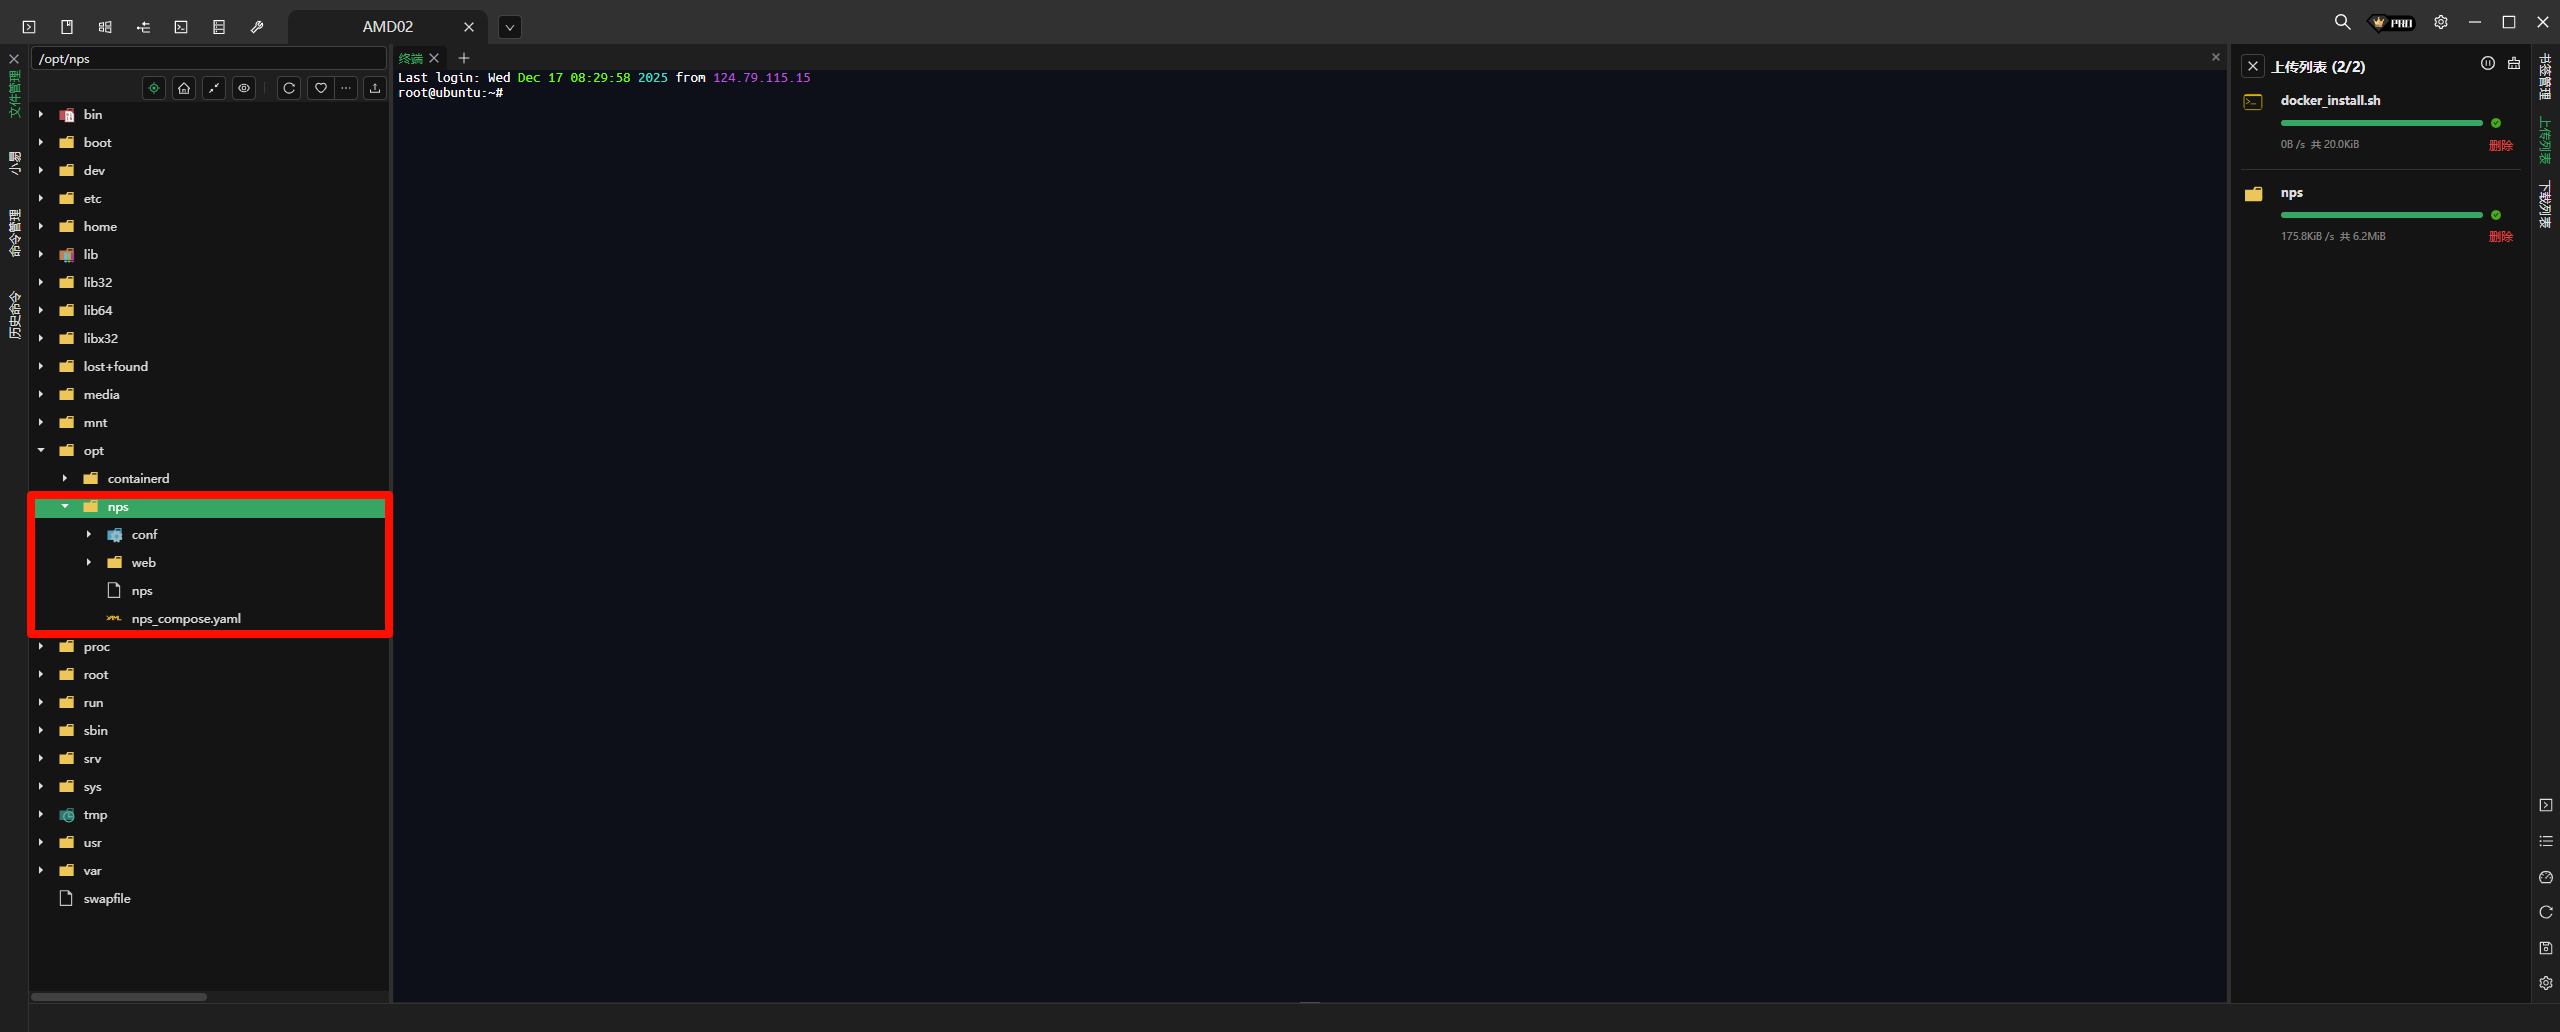
本地新建一个 nps文件夹,将即将上传的文件,全部拖入
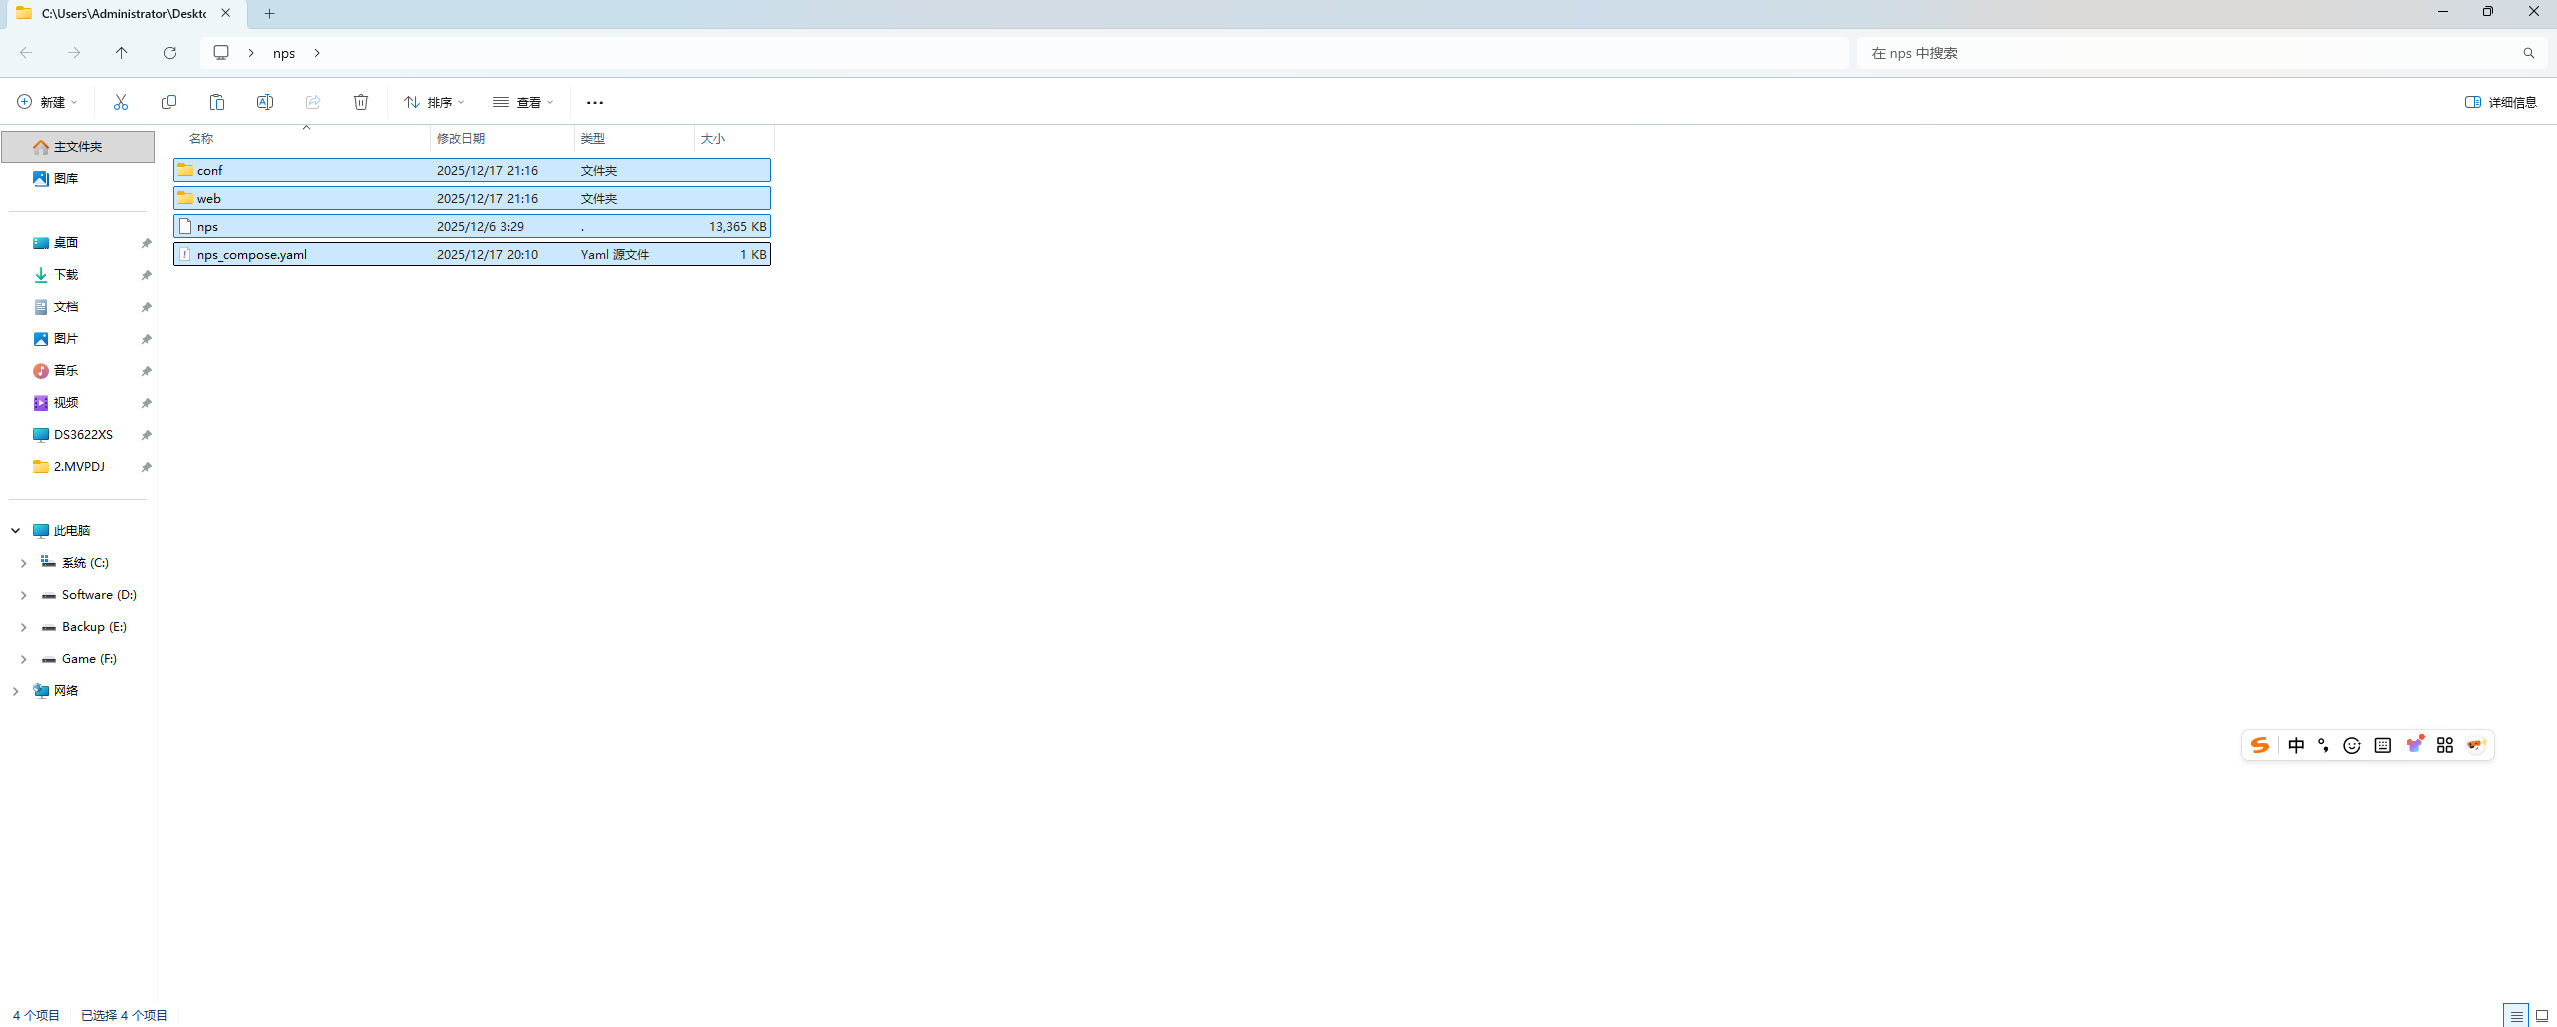
开始上传文件夹至 /opt路径下
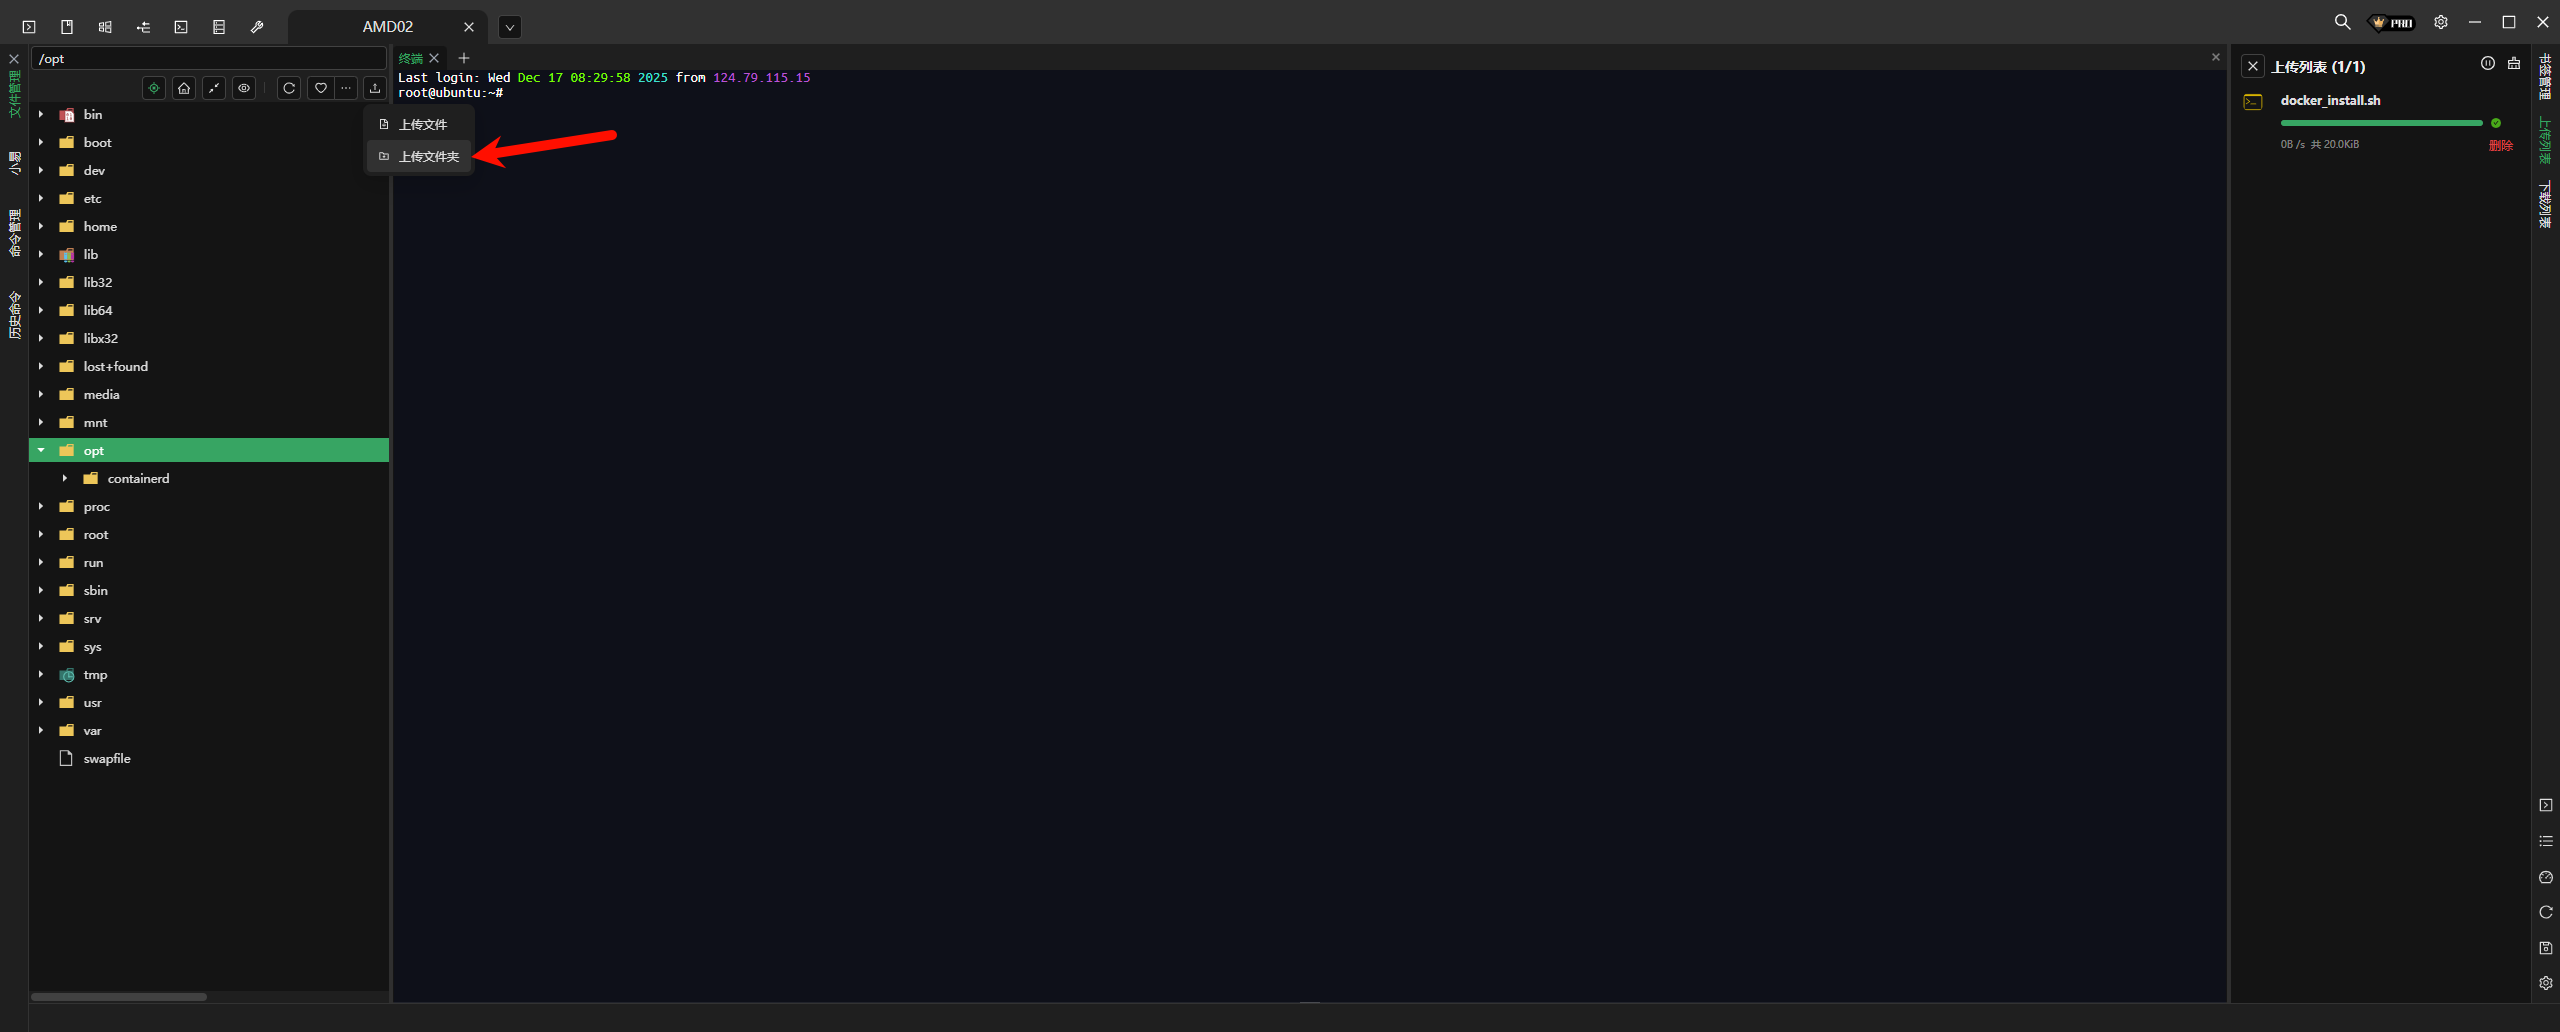
刷新检查
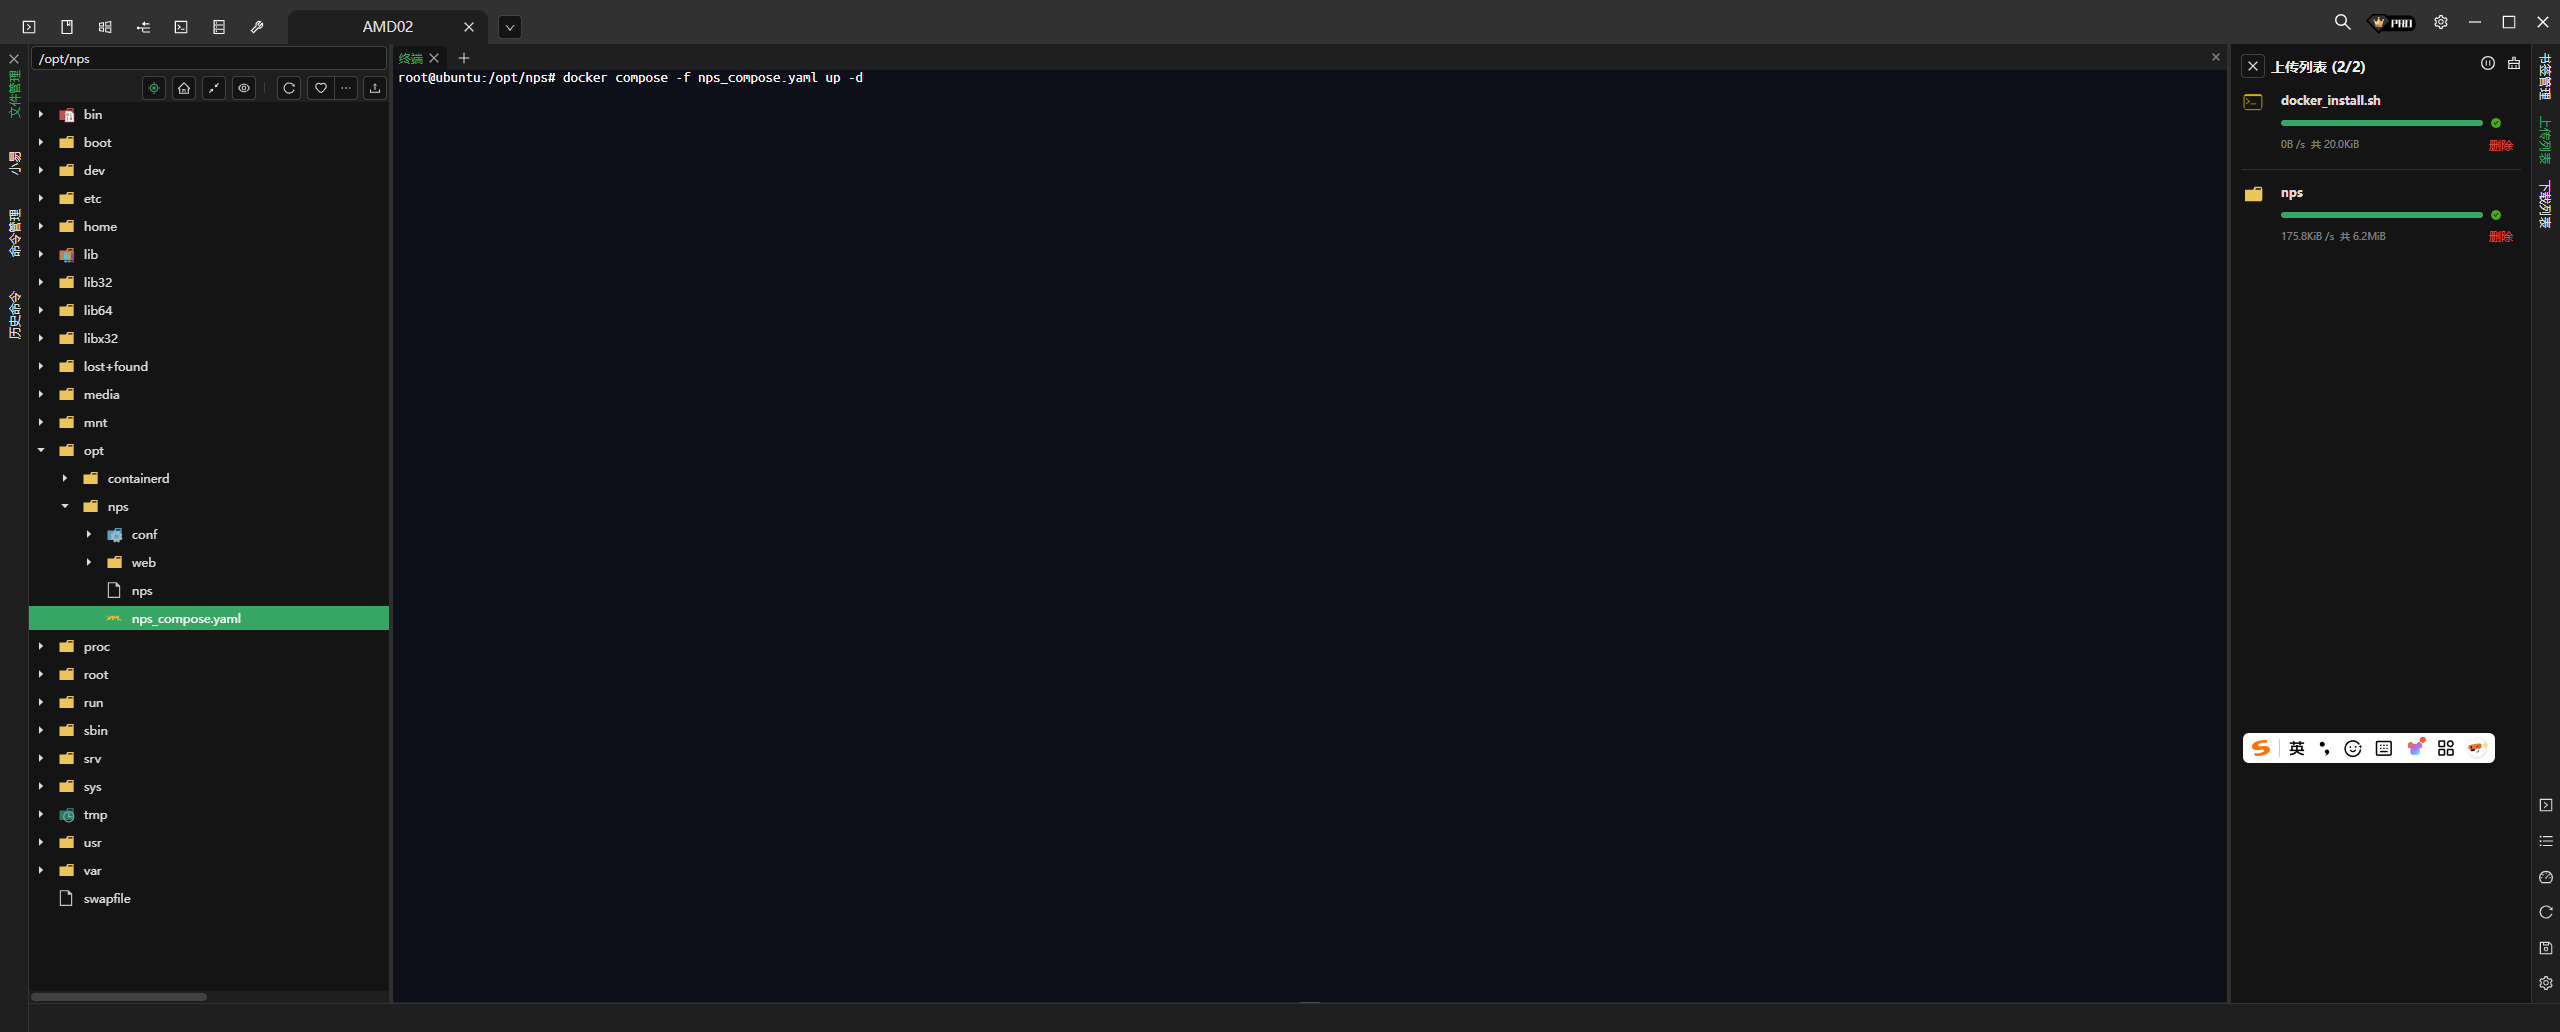
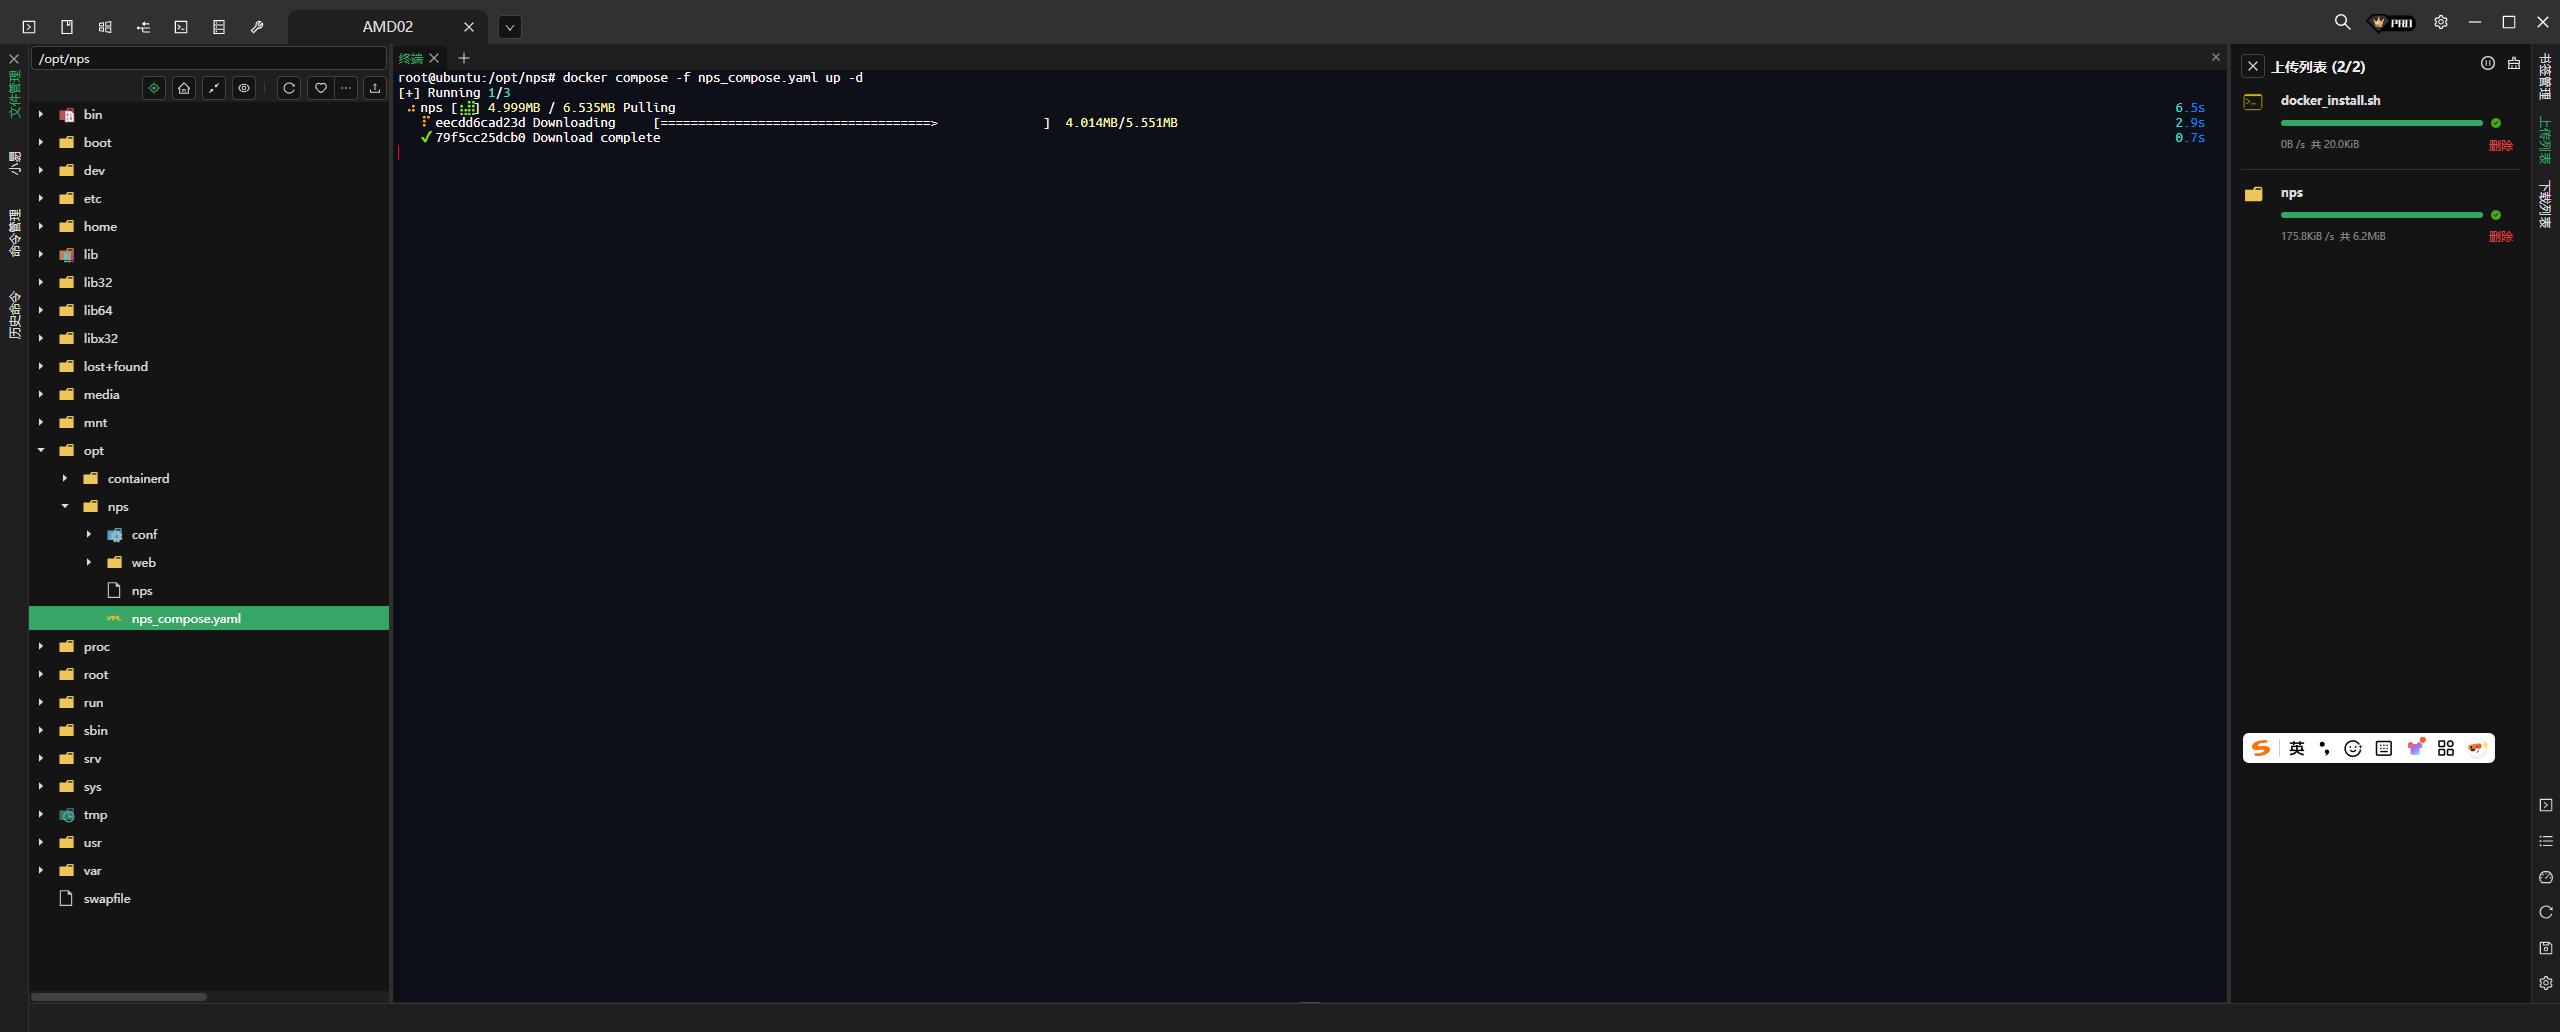
切换路径至文件所在处,启动容器
docker compose -f nps_compose.yaml up -d
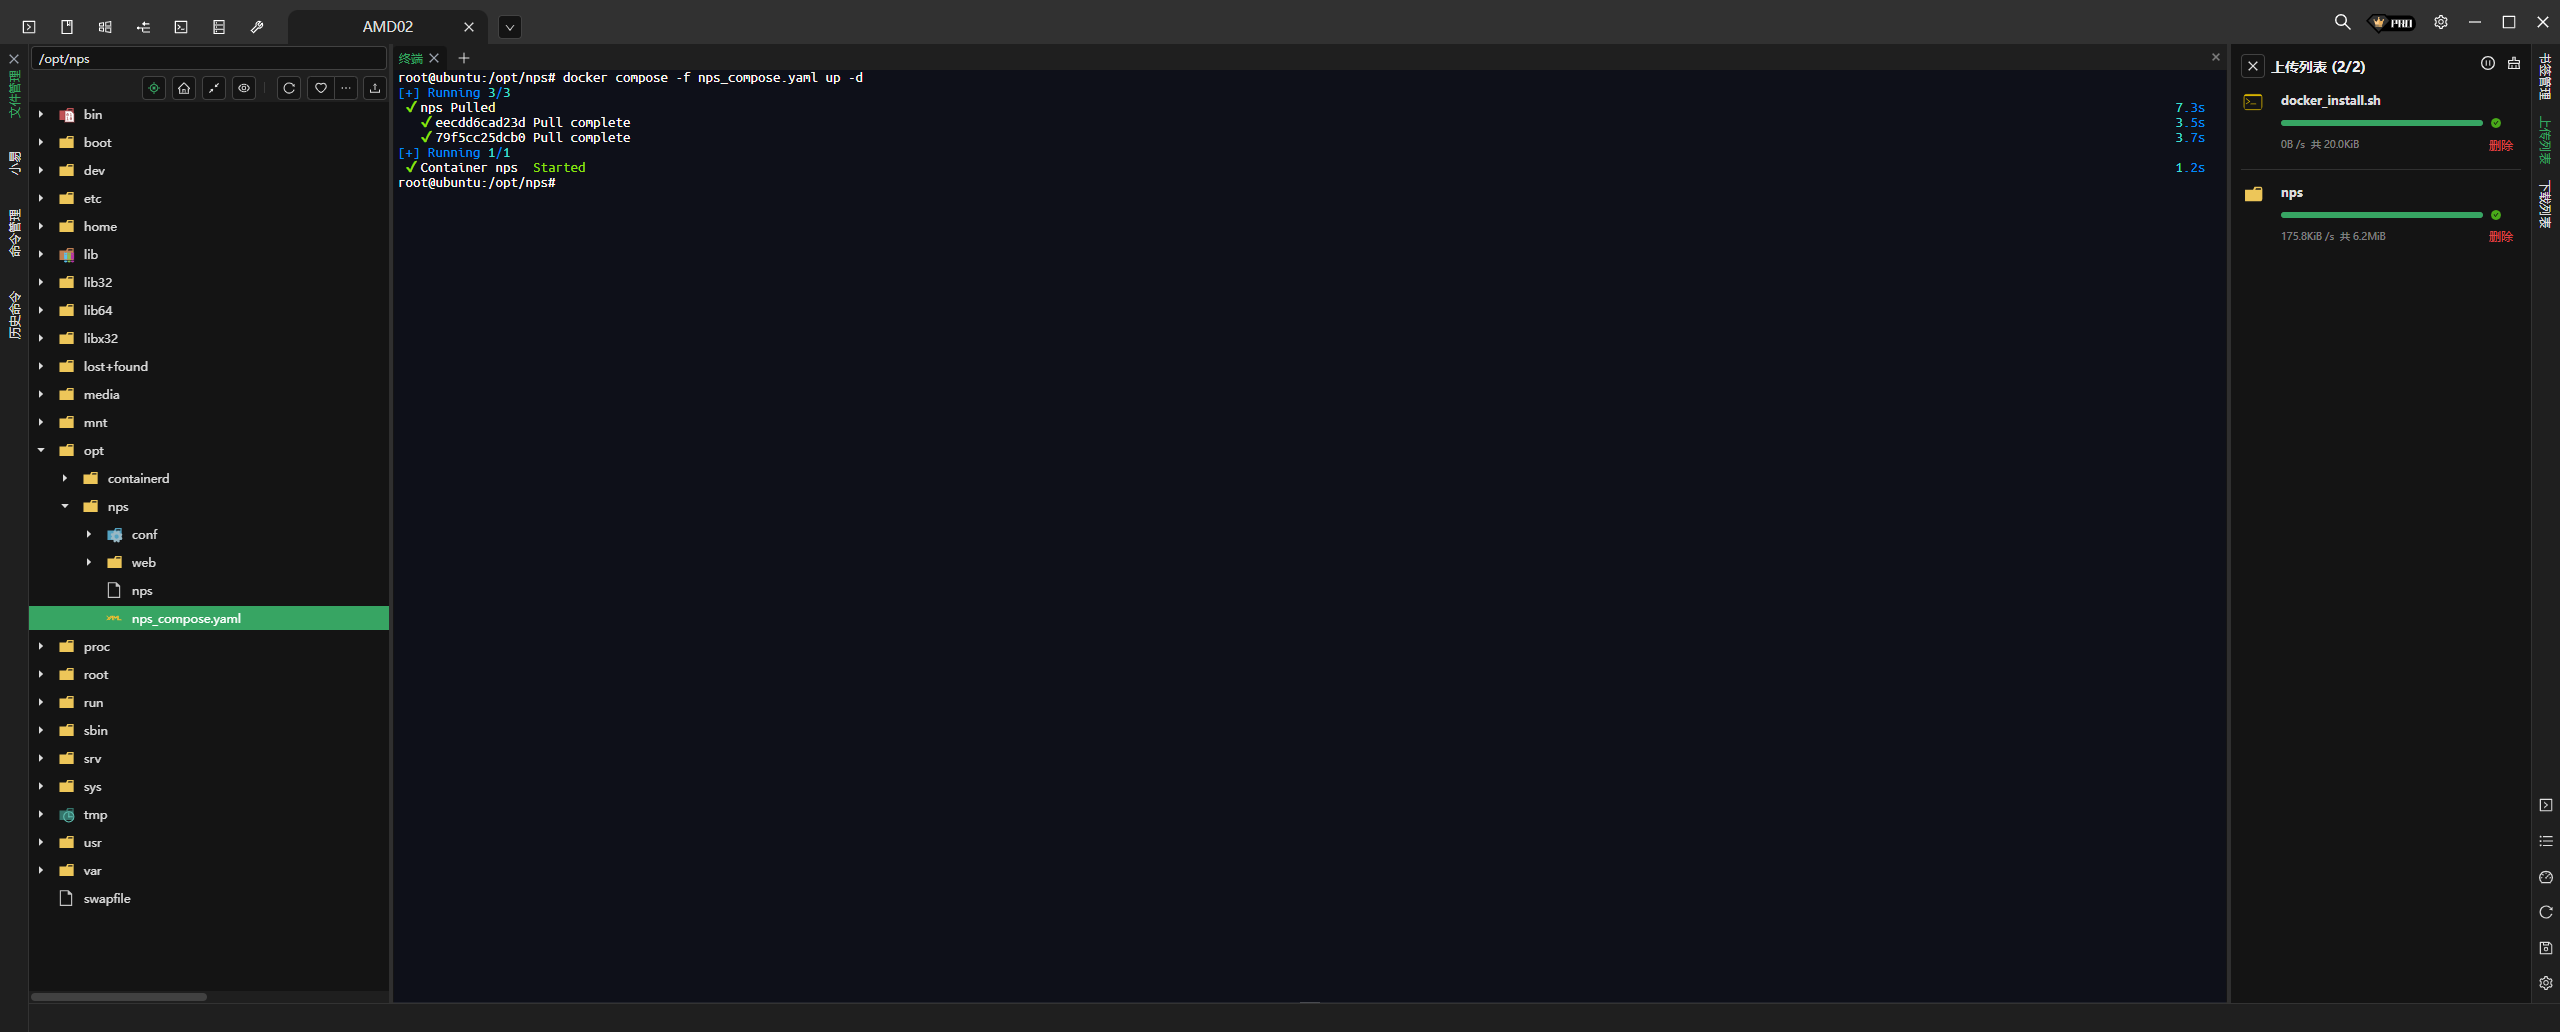
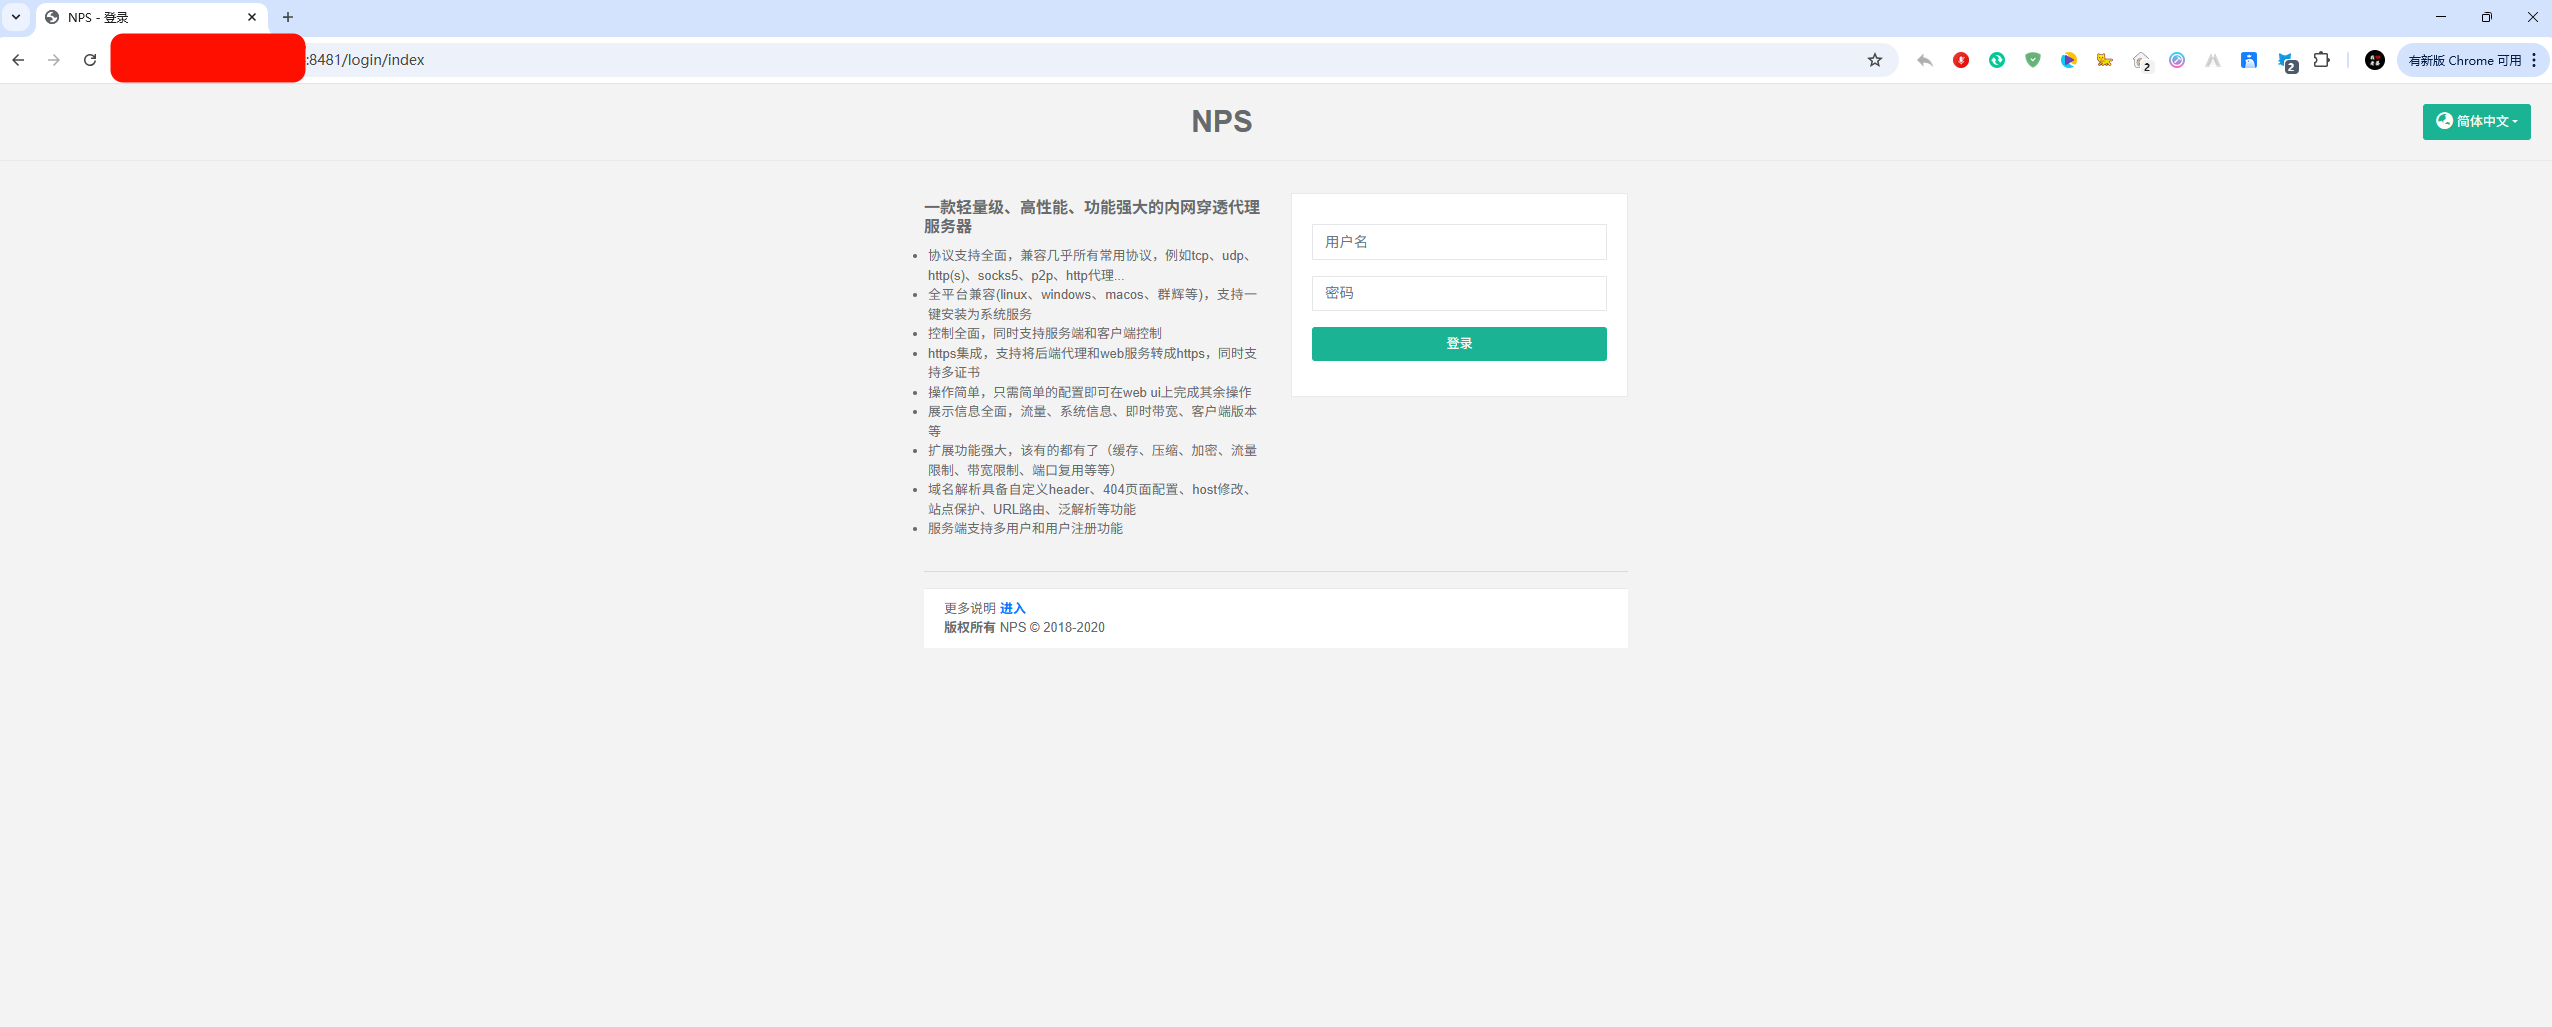
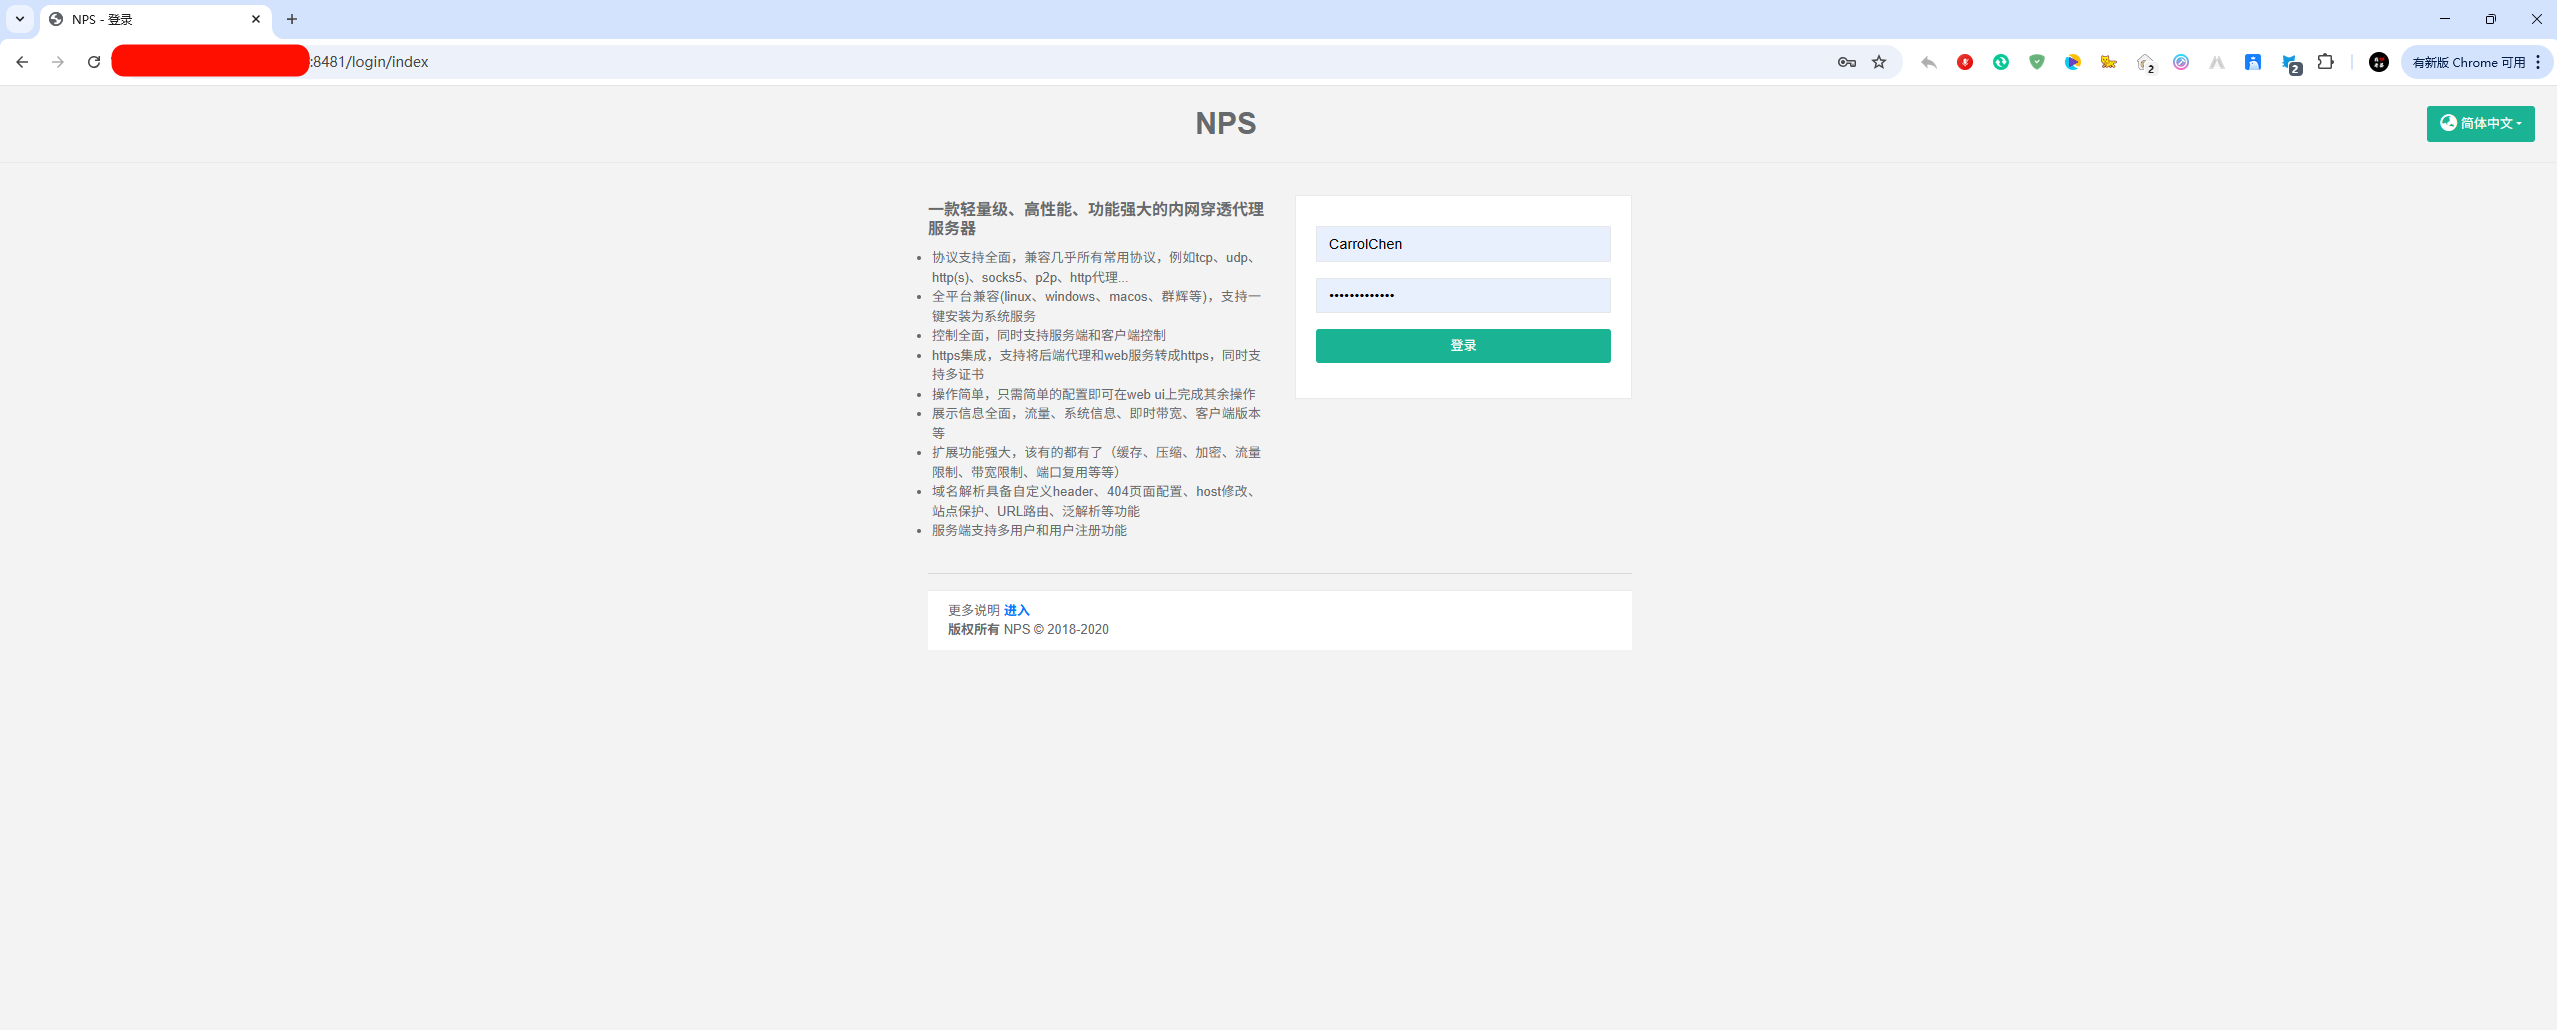
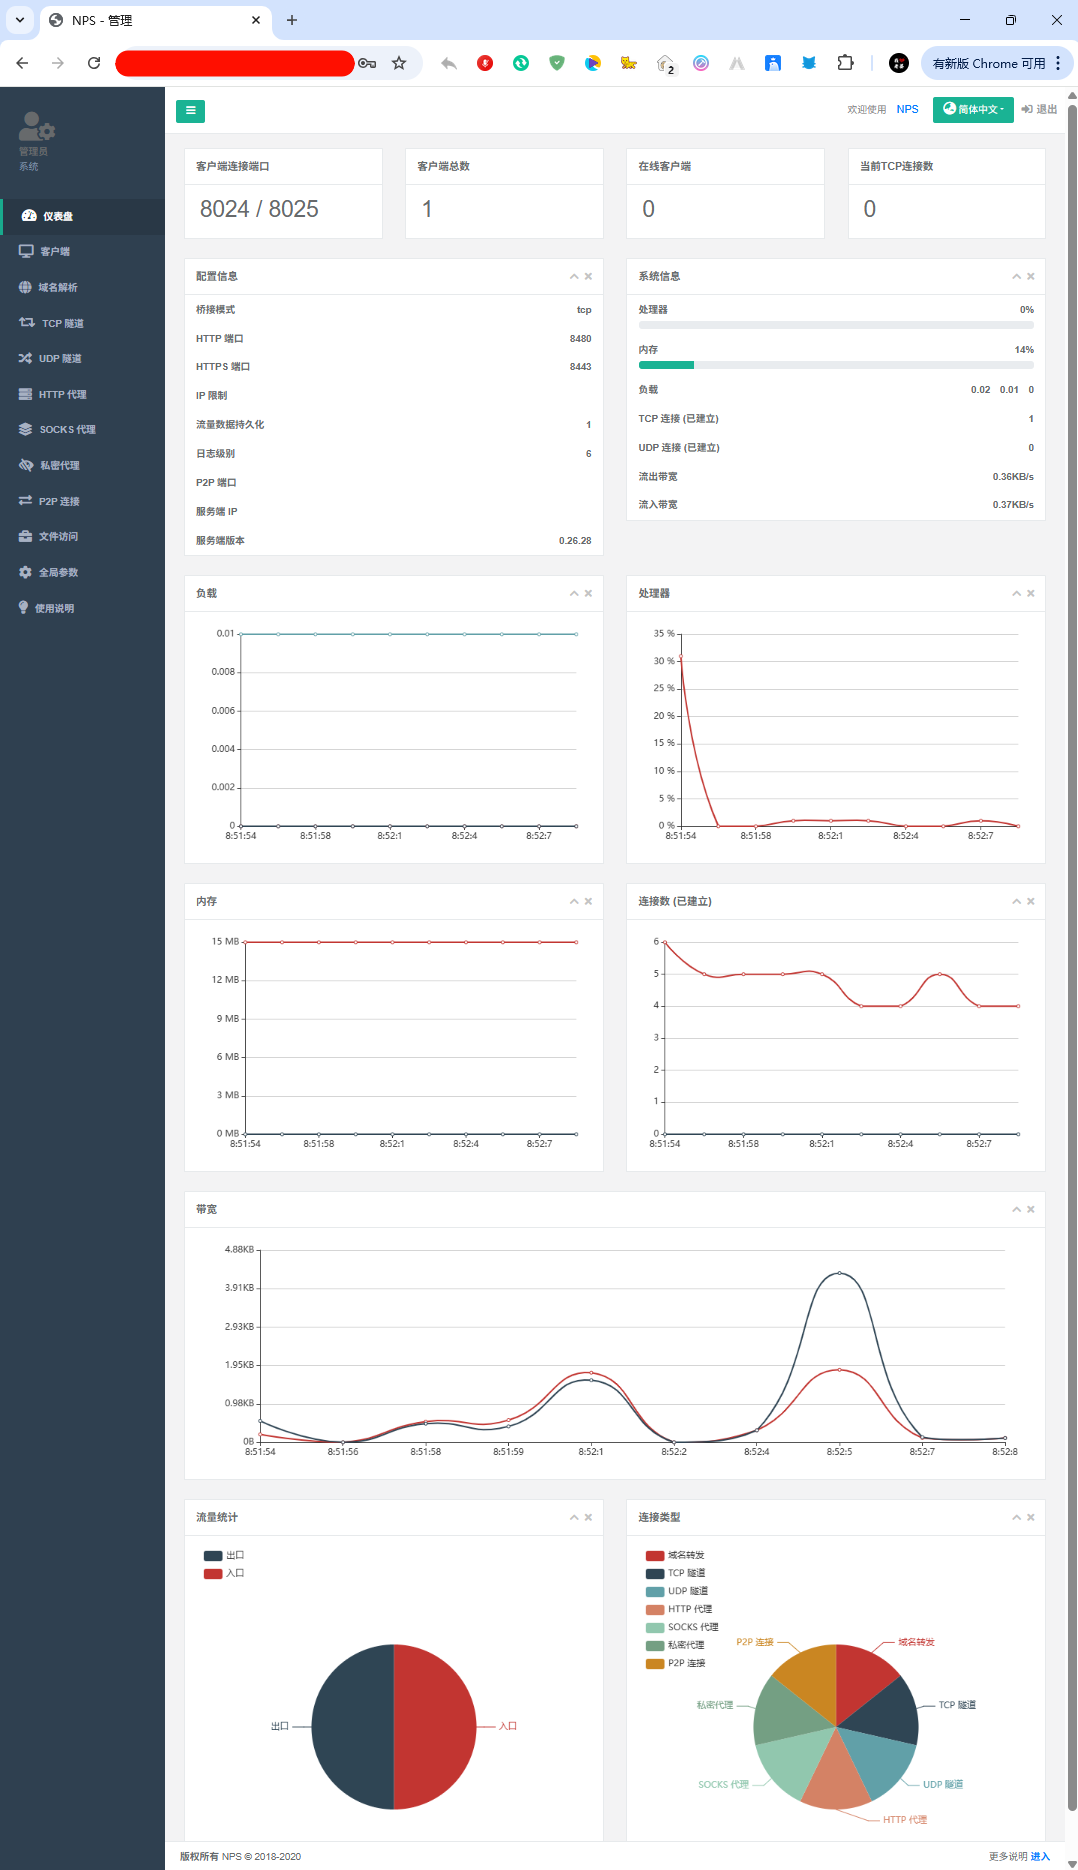
3.登录NPS容器进行预览
容器登录方式:VPS云服务器IP:8481
VPS云服务器部署NPS内网穿透服务端
https://blog.19950628.xyz/archives/B4VOGWC2Z8
评论